Crafting the Joy of Play: Your Guide to Making a DIY Feed the Frog Game
Hello there, fellow crafters! Today, I’m thrilled to share a delightful project that has become a staple in my home: the DIY Feed the Frog Game. Not only is this game a hit at birthday parties and family gatherings, but it also offers the perfect blend of fun and learning for kids. Watch as the little ones engage with this charming game that enhances their hand-eye coordination, helps with counting skills, and provides hours of entertainment!
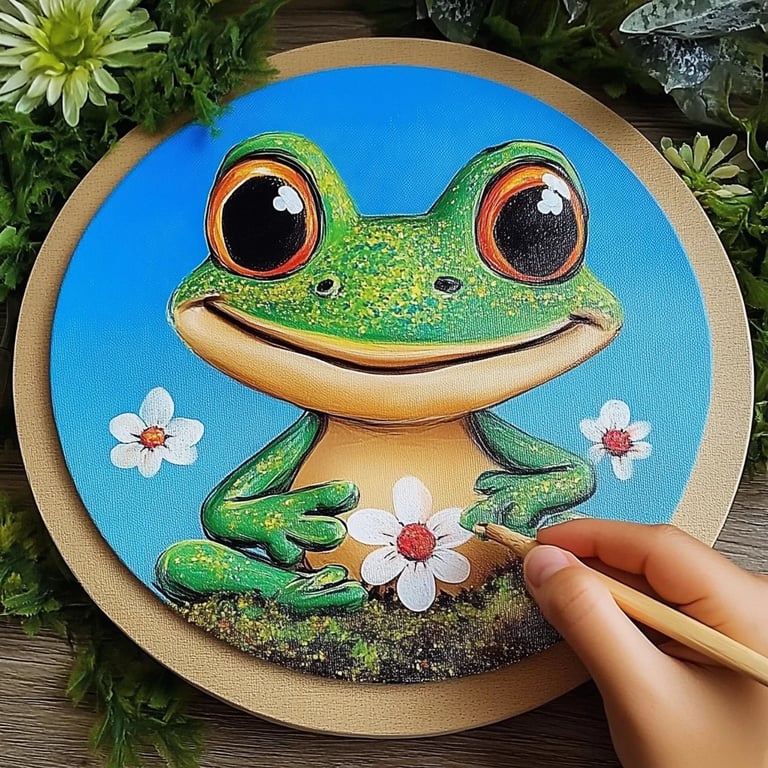
What is the Feed the Frog Game and Why is it So Popular?
The Feed the Frog Game is a simple but captivating tossing game where players aim to toss soft, colorful balls (or other small objects) into the mouth of a cheerful frog cut-out. It’s not just a game; it’s an engaging way to encourage active play and social interaction among kids. The bright colors and playful design make it visually appealing to children, and parents love the creativity involved in crafting it.
You’ll find that this DIY project isn’t just suitable for birthday parties; it also works wonderfully for outdoor picnics, school fairs, or even rainy days indoors. The best part? It’s an eco-friendly, budget-friendly alternative to store-bought games, allowing you to customize it to fit your personality and style!
Now, with all that said, let’s dive into the step-by-step tutorial to create your very own Feed the Frog Game. Grab your craft supplies, and let’s get started!
Materials You’ll Need
- Cardboard or a sturdy paper plate (for the frog's base)
- Green felt or green paint (to create the frog)
- Scissors
- Glue (either hot glue or craft glue)
- Colored foam balls or bean bags (for the food)
- Black marker or googly eyes (for frog features)
- Ruler (for measuring)
Step-by-Step Tutorial
Step 1: Create the Frog Base
*Why it matters:* This step lays the foundation for your game. A sturdy base ensures longevity and stability during play.
- Cut out the Frog Body: If you’re using cardboard, draw an oval shape for the frog’s body that measures about 12 inches long. Make sure it’s wide enough to stand stability!
*Tip: You can even print a frog template online if you're unsure about drawing one.*
- Cut out the Mouth: Use scissors to cut a large, open mouth at the front of the oval. This should be about 3 to 4 inches wide. The wider the mouth, the easier for kids to aim!
*Possible issue:* If the mouth is too small, you can always go back and carefully cut it larger.
Step 2: Decorate Your Frog
*Why it matters:* Adding personality to your frog makes the game more inviting and fun.
- Cover with Green Felt or Paint: If you’re using felt, glue the pieces onto the cardboard base. For paint, use a brush to evenly layer green paint across the surface. Allow drying time as needed.
*An alternative:* For a fun twist, use a mix of colors for a rainbow frog! This allows children to choose their favorite colors.
- Add Frog Features: Once the base is dry, draw a big smile and nostrils with the black marker, or glue on googly eyes for extra flair!
Step 3: Prepare the Tossing Food
*Why it matters:* The food is the most fun aspect of the game and should be easy for little hands to toss.
- Craft the Food Items: If using foam balls, you might choose green or multi-colored ones to resemble flies or bugs. If you go the bean bag route, you can create small pouches using fabric scraps.
*Pro Tip:* If you choose fabric, just cut them into squares, sew around the edges, and fill them with beans or rice.
Step 4: Set It All Up
*Why it matters:* The setup prepares the game for its first play session, so paying attention to details will enhance the user experience.
- Create a Game Zone: Position your frog on a raised surface, like a small table. This encourages players to toss from a little distance, which boosts the challenge!
- Establish Tossing Lines: Mark spots at varying distances to create levels of difficulty. Kids can step back or come closer depending on their skill level!
Safety Warnings
- Use Safe Materials: If you're crafting for young children, ensure that all materials are non-toxic and free from sharp edges. Smooth out any rough cuts on the cardboard.
- Supervise Play: As with any tossing game, supervise the activity to avoid accidents, especially if using small foam balls or bean bags that could be swallowed.
Troubleshooting Common Issues
- Frog Won’t Stand: If your frog seems wobbly, try adding a cardboard base beneath it, or gluing some weights (like small stones) at the bottom for balance.
- Balls Won't Fit: If you find the balls are too large to toss into the mouth, either adjust your cuts or modify the size of the balls. But remember, the aim is to keep it fun and challenging, so don’t worry if adjustments are needed!
Personal Anecdotes
I recall one rainy afternoon when my kids and I tackled this project together. Initially, they were hesitant with their designs, but as they began to see their creations come to life, their excitement was contagious! The joy we shared as they tossed the balls and cheered each other on was absolutely priceless. It quickly became a favorite in our home.
Creative Variations
- Seasonal Themes: Decorate your frog for different seasons—perhaps a spooky witch frog for Halloween or a festive Santa frog for Christmas!
- Scorekeeping: Incorporate a scorecard to turn the game into a fun competition.
- Branding the Game: Let your children paint or create a name for their frog and set the theme. This will make them feel like it’s truly theirs.
In Conclusion
Making your own Feed the Frog Game is an engaging and fulfilling project that brings together creativity, play, and learning. I hope this detailed guide inspires you to gather your supplies and create not just a game, but a memory. Whether for your children or as a gift to a friend, this DIY project is bound to delight!
Thank you for joining me on this crafting journey! I can't wait to hear how your Feed the Frog Game turns out, so please share your experiences and any creative spins in the comments below. Happy crafting!