Crafting Peanut Shell Giraffes: A Step-by-Step Guide to Creating Adorable Nature-Inspired Art
As an avid crafter who has spent years exploring the boundless world of DIY projects, I find immense joy in transforming everyday objects into delightful works of art. One project that never fails to elicit smiles and spark creativity is making Peanut Shell Giraffes. These adorable little creatures not only serve as whimsical decor but also make great gifts or unique toys. Whether you’re looking to enjoy an afternoon craft with your children or exploring a new hobby for yourself, crafting peanut shell giraffes is an enchanting experience.
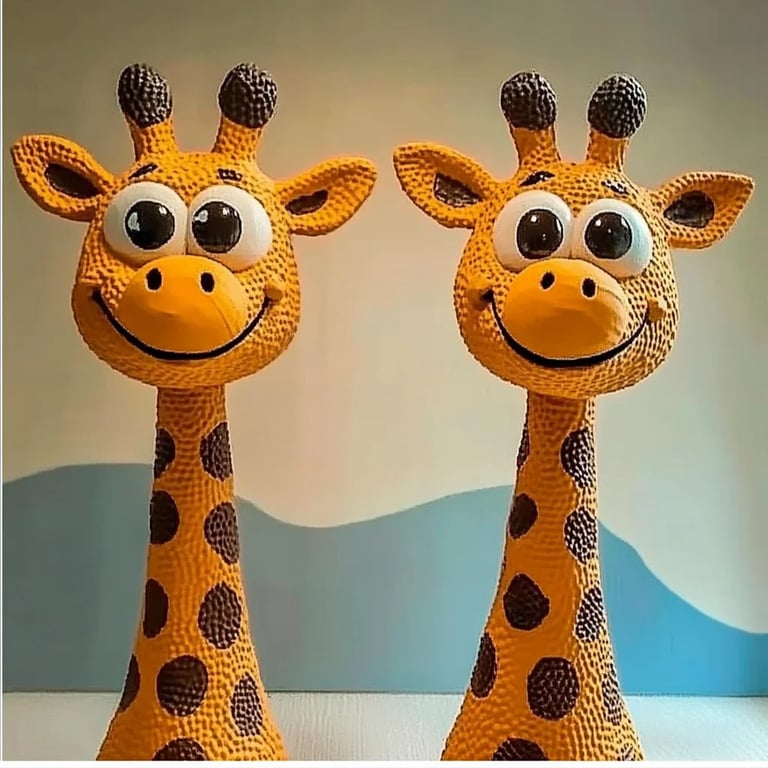
Why Peanut Shell Giraffes?
Peanut Shell Giraffes are charming little figures that utilize the humble peanut shell as a base material. The appeal? They're not only eco-friendly, but they also allow for creative expression, blending art with sustainability. Whether you want to decorate a child's room, create a fun centerpiece, or simply indulge your creativity, these giraffes bring joy and charm with their playful designs.
This craft can serve multiple occasions: birthday parties, family gatherings, or even as a unique craft project for school. Plus, they make fantastic conversation starters! I’ve personally made these crafts during family gatherings, and watching the little ones light up when they see something unexpectedly adorable is truly rewarding.
Now, let’s embark on a delightful crafting journey together!
Materials You’ll Need
Before we dive into the steps, let’s gather our materials. I always say preparation is key!
Essential Materials:
- Peanut shells (empty and cleaned)
- Craft glue (Tacky glue works best)
- Paints (yellow, brown, black, and any other colors you desire for creative flair)
- Paintbrushes (various sizes)
- Wiggly eyes (or you can make your own from paper)
- Cardboard (for the giraffe's legs)
- Scissors
- Optional: Glitter, colored markers, fabric scraps, ribbons for decorations
Safety Warnings:
While this project is generally safe, please supervise young children with scissors and small materials. If you’re using hot glue, ensure that children are kept at a safe distance, as the glue can cause burns. It’s always better to prioritize safety while nurturing creativity!
Step-by-Step Tutorial
Step 1: Collecting and Cleaning the Peanut Shells
The first step is simple yet essential: collect empty peanut shells. Make sure they’re clean and free of any peanut residue to prevent sticky situations later on.
Why this matters: Dirty shells can affect how well the paint adheres and can also attract pests.
Potential Issues: If you find shells that are slightly broken, don’t panic! You can still use them; they can add character to your giraffe.
Step 2: Create the Giraffe’s Body
Take a peanut shell and decide which end will be the bottom of your giraffe. This is typically the flatter side. Use a brush to paint the shell with yellow paint, covering it completely.
Why yellow? Giraffes are known for their sunny, golden-yellow coats with brown spots. This initial layer serves as your base.
Tip: Allow each layer of paint to dry completely to avoid smudging. If you’re short on time, a hairdryer on a low setting can speed up the drying process.
Step 3: Adding Spots
Once your body is dry, it’s time to create those distinctive spots. Use a small brush and dab brown paint onto the yellow body in irregular shapes.
Why irregular spots? No two giraffes are alike in nature, so let your creativity run wild!
What could go wrong? You might find the spots running into one another. If that happens, use a clean brush to gently separate them before they dry.
Step 4: Attaching the Eyes
With your body painted, it’s time to bring your giraffe to life by adding those adorable eyes. You can either glue on wiggly eyes or paint them on with a small brush. If you're painting, choose a black dot and a smaller white dot for detail.
Making your own eyes: If you're feeling particularly crafty, you can craft eyes from small circles of white paper, with smaller black circles glued on top.
Step 5: Making the Legs
Now it’s time to give your giraffe legs! Cut four strips of cardboard about 1-2 inches wide and 4-5 inches long. You can paint these yellow or brown to match your giraffe.
Why cardboard? It’s sturdy yet lightweight, making it easy to balance your giraffe.
Step 6: Assemble the Giraffe
Once your legs are dry, glue them to the bottom of the peanut shell. Position two legs at the front and two at the back, ensuring your giraffe stands upright.
What could go wrong? If your giraffe doesn’t stand, it may be due to uneven legs. Simply trim the legs slightly until you achieve a consistent height.
Step 7: Adding Final Touches
To further personalize your giraffe, consider adding a tail made from yarn or fabric scraps, and paint or glue unique decorations. You could add a flower or a tiny bow around the neck for additional flair.
Step 8: Let It Dry!
Set your creation aside for adequate drying time. I suggest waiting a few hours before moving it around to ensure everything is securely positioned.
Creative Variations
The beauty of crafting is its flexibility. Here are some inspiring alternatives to personalize your giraffe:
- Colorful Patterns: Use vibrant colors or paint patterns like polka dots or stripes.
- Seasonal Themes: Dress your giraffe in seasonal colors for holidays—think orange and black for Halloween or red and green for Christmas!
Wrap-Up
Creating Peanut Shell Giraffes is more than just a craft project; it's a journey of creativity and expression. Over the years, I’ve found peace in crafting and the joy of sharing those experiences. I hope this guide inspires you to explore this project with your loved ones or even take on a new crafting challenge solo.
Remember, there’s no right or wrong way to create—just let your imagination soar! Happy crafting, and I can’t wait to see your adorable giraffes! Don’t forget to share your creations and experiences.