Crafting Magical Moments: A Comprehensive Guide to DIY Kids Lantern Craft
Crafting is a wonderful way to ignite creativity, and one of my all-time favorite projects has to be DIY lanterns. These delightful creations are not only fun to make but serve a purpose beyond mere decoration—they can light up a dark room, brighten up a backyard picnic, or even set the mood for a cozy camping night indoors. Kids especially love making lanterns, and they can turn a simple craft project into a lasting memory.
Why DIY Kids Lanterns?
DIY lanterns have gained popularity not only for their aesthetic appeal but also for their versatility. They can brighten up any space and add a personal touch to celebrations like birthdays, weddings, or holidays. Plus, making lanterns is an excellent way for children to develop their fine motor skills, enhance their creativity, and learn about basic crafting techniques—all while having a blast!
During late spring and summer evenings, these lanterns work wonders, perfect for garden parties or family gatherings around a fire pit. They create an enchanting atmosphere, inviting children to step into a world of imagination and whimsy.
Materials You’ll Need
Before we dive into the crafting process, let's gather the necessary materials. Don't worry if you don’t have everything on hand; many of these items can be substituted based on your creativity and resource availability!
Basic Supplies:
- Mason jars or glass jars: These are our main canvas. They can be reused from previous projects or quickly grabbed from your pantry. You could also use clear plastic jars if safety is a concern.
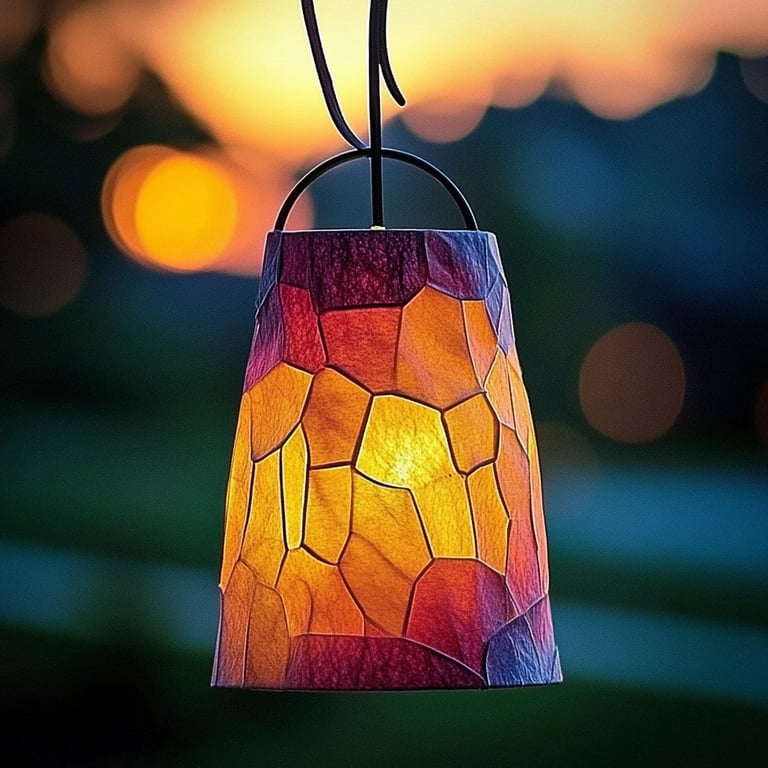
- Paint or tissue paper: Acrylic paint works wonderfully for adults to use, but for kids, I recommend tissue paper cut into beautiful shapes; it’s easier to handle and lets light shine through beautifully.
- Glue: White school glue or decoupage glue will do the trick.
- Paintbrush: A medium-sized brush is perfect for applying glue or paint.
- LED tea lights: Essential for safety, these battery-operated lights provide the perfect glow without the worry of flames.
- String or twine: For hanging lanterns, if you so desire.
Optional Decorative Items:
- Stars and moon stencils: To add delightful patterns to your lanterns.
- Glitter: To make things sparkle!
- Markers: For adding personal touches or messages.
Step-by-Step Tutorial
Step 1: Preparing Your Workspace
First, find a clean and spacious area where you can craft without interruptions. Lay down some newspaper or an old tablecloth to protect your surface from paint and glue spills. Gather all your materials, so everything is at your fingertips during the process.
Tip: If you’re working with a group of kids, consider assigning them specific tasks based on age and skill level.
Step 2: Designing Your Lantern
Let’s begin with the most exciting part: designing! Using your tissue paper, cut out shapes like stars, hearts, or flowers. Encourage kids to get creative with colors! For younger kids, I suggest using pre-cut shapes or stickers for simplicity.
Note: When cutting, use child-safe scissors to prevent accidents. It’s always a good idea to supervise closely.
Step 3: Applying Glue
Next, it’s time to adorn your mason jar! Use the paintbrush to apply a thin layer of glue to the outside of the jar. Place your cut-out shapes on the glue, making sure to smooth any wrinkles to avoid air bubbles—this will ensure that the light can shine through nicely.
Tip: A little glue goes a long way; don’t soak the shapes with glue, as it can lead to messy results.
Step 4: Multiple Layers
If you want to create depth, feel free to apply additional layers of shapes or colors. Just ensure each layer of glue dries before adding another. This can take anywhere from 10 to 30 minutes depending on the thickness of glue.
Potential Mishap: If you notice your shapes are slipping or not sticking properly, you might need to add a bit more glue beneath them. Alternatively, you can use tape to hold them in place until the glue dries.
Step 5: Final Touches
Once you’re pleased with your design, allow the lantern to dry completely. If you’re keen on adding a little sparkle, this is the time to sprinkle some glitter (glitter can be a messy friend, so be cautious!).
Step 6: Adding Your Light Source
Finally, place your LED tea light inside the jar. If you want to hang your lantern, tie a piece of twine around the top of the jar after the lantern is complete, creating a handle.
Safety Warning: Be sure to remind the kids that the LED lights are safe to touch, but we should always handle glass items carefully.
Creative Variations
- Themed Lanterns: Create seasonal lanterns by selecting specific colors and shapes for holidays—like orange and black for Halloween or red and green for Christmas.
- Nature-Inspired: Gather leaves and twigs from the backyard and stick them to the jar for a rustic, forest-themed luminary. Not only is it beautiful, but it educates kids on nature too.
- Glow-in-the-Dark Paint: For an exciting twist, incorporate glow-in-the-dark paint. After charging under a light, these lanterns will emit a soft glow after dark!
Personal Anecdote
I'll never forget the first time my daughter and I made these lanterns together during a family gathering. We ended up with a collection of whimsical lights—each had a unique story behind it. What started as an afternoon craft evolved into a heartwarming memory, with laughter and creativity filling the air. I’ll cherish those moments as she expressed herself through art, and we still hang those lanterns every summer, each light reminding us of our time together.
Final Thoughts
Crafting DIY kids' lanterns is a rewarding, simple project that nurtures creativity and builds memories. I hope this guide inspires you to gather your supplies, unleash your creativity, and create enchanting lanterns that will illuminate your space with warmth and charm.
Remember, every crafting adventure is about exploration and fun. So dig in, make mistakes, and most importantly, enjoy the process! Happy crafting! ✨