Crafting Magic: My Comprehensive Guide to DIY Cornstarch and Chalk Dough
Hello and welcome, fellow crafters! Today, I’m thrilled to share with you one of my absolute favorite projects: making DIY cornstarch and chalk dough. This versatile crafting material is not only incredibly fun to work with, but it also opens up a world of creative possibilities for kids and adults alike. Whether you’re looking to create unique ornaments, custom toys, or simply indulge in a sensory activity, this dough is a fantastic choice. So grab your supplies, and let’s dig into this crafty adventure together!
What is Cornstarch and Chalk Dough?
Cornstarch and chalk dough is a homemade modeling compound made primarily from cornstarch and chalk. It's a non-toxic, malleable material that hardens as it dries, allowing you to create beautiful, durable creations. This dough is popular among crafters, educators, and caregivers because it’s inexpensive, simple to make, and perfect for imaginative play.
Why Make It?
You might be wondering—why should I make DIY cornstarch and chalk dough instead of buying commercial alternatives? For me, the answer lies in the joy of creation. Making it at home allows for customization in colors, scents, and textures, and, best of all, it's a fantastic bonding activity with kids. Plus, it’s a sustainable option free from harsh chemicals, ensuring that you are creating in a safe environment.
So, whether you’re hosting a crafting party, looking for a fun family project, or even teaching a classroom full of eager minds, this dough is sure to please.
The Recipe: A Step-by-Step Guide
Materials Needed:
- 1 cup cornstarch
- 1 cup of chalk (finely ground chalk or chalk dust)
- 1 cup water
- 1-2 tablespoons of white glue (optional for extra durability)
- Food coloring (optional)
- Mixing bowl
- Spoon or spatula
- Wax paper or baking sheet for drying
- Airtight container for storage
Step 1: Gather Your Ingredients
First, make sure you have all your materials in one place. This step is crucial. Having everything on hand saves time and avoids the chaos of scrambling for ingredients mid-project.
Step 2: Mix Dry Ingredients
In a mixing bowl, combine 1 cup of cornstarch with 1 cup of finely ground chalk. If you’re using store-bought chalk, ensure it’s completely pulverized. A food processor does a great job here! This mixture forms the base of your dough and provides the structure. Tip: If you want vibrant colors in your dough, this is also the time to add food coloring directly into the dry mix, which will ensure an even distribution of color.
Step 3: Add Water
Slowly pour 1 cup of water into the bowl while stirring the dry mixture continuously. Why is stirring important? It prevents lumps from forming, ensuring a smooth dough. If you opt to add white glue for additional durability, mix it in just after the water. Warning: Add water gradually to avoid making the mixture too runny; it’s much easier to add a little more than to fix a soggy mess.
Step 4: Knead the Dough
Once it’s combined, it’s time to knead! Transfer the mixture to a clean surface or keep it in the bowl. Knead with your hands until it transforms into a smooth, pliable dough—about 5 minutes. This step is crucial for blending the ingredients fully and achieving the right texture. If it’s too sticky, add a little more cornstarch. If it feels too dry, sprinkle in a few drops of water. Remember, crafting is about adjusting as you go!
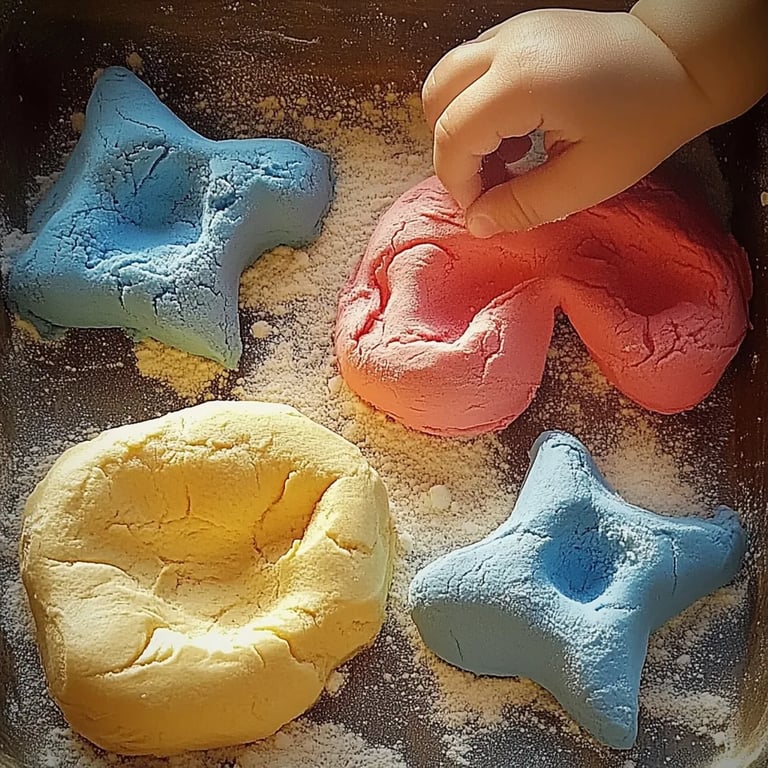
Step 5: Shape and Create
Now comes the fun part! Shape the dough into your desired creations. Whether you’re making ornaments, animal figurines, or beautiful beads, let your imagination run wild. If you’re working with little ones, this is a perfect time to encourage their creativity by showing them how to mold and shape their fantasies.
Step 6: Let It Dry
Once your creations are complete, place them on a wax paper or baking sheet in a dry area. Depending on the humidity and thickness of their shape, they can take 24 to 48 hours to dry completely. Tip: For thinner objects, they might harden faster, so check on them regularly. You’ll know they’re ready when they are firm to the touch.
Step 7: Store Any Remaining Dough
If you made more dough than you used, don’t fret! Store any unused dough in an airtight container. It can last for a couple of weeks, but I recommend using it within the first week for the best texture.
Troubleshooting Common Issues
Even the most experienced crafters might encounter some hiccups along the way. Here are a few common problems and how to solve them:
- Dough Too Sticky: Add small amounts of cornstarch until you reach the desired consistency.
- Dough Crumbles: This could be due to too much chalk or not enough moisture. Try adding a few drops of water and knead again.
- Cracking During Drying: Cracks may appear in thicker pieces. To fix this, ensure the pieces aren’t too thick or brush a little water over the surface before they dry completely.
Personal Insights and Tips
Over the years, I’ve learned a few secrets that elevate my crafting game.
- Scented Dough: Want to make your dough more engaging? Try adding a few drops of essential oil during the mixing process for delightful scented creations. Lavender, in particular, is calming and lovely!
- Colorful Layers: Why not create multi-colored dough? Divide your batch and mix different colors into each portion. Layer them before shaping for swirled designs!
- Texture Fun: For added texture, consider mixing in other materials like sand for a gritty feel or glitter for sparkle!
- Seal It: If you want to preserve your pieces, consider sealing them with a clear acrylic spray once they’ve dried completely.
Safety Warnings
- Always supervise young children during crafting, particularly when using tools or small pieces.
- If using ground chalk, ensure it’s non-toxic and suitable for crafting. Avoid inhaling dust and work in a well-ventilated area.
- Wash hands after crafting, especially if you’ve used food coloring.
Final Thoughts
Crafting with DIY cornstarch and chalk dough is a delightful experience that promotes creativity and imaginative play. Whether you’re creating gifts, ornaments, or simply exploring the joys of hands-on crafting with your kids, this dough is sure to inspire.
I hope that this guide has inspired you to roll up your sleeves, gather your supplies, and get crafting! Remember, this process is meant to be fun and playful, so don’t be afraid to experiment and let your creativity shine. Happy crafting, and I can’t wait to see what you create!