Crafting Magic: How to Make Cornstarch Snow Dough
Hello fellow crafters! Today, I’m excited to share a delightful crafting activity that has captured the hearts of children and adults alike—Cornstarch Snow Dough. This fluffy, soft, and moldable concoction mimics real snow in texture, making it a favorite for sensory play, holiday-themed activities, or just plain creative fun. Whether you’re planning for a cozy indoor day or seeking an engaging project for a snowy afternoon, this sensory dough will surely spark joy and creativity.
What is Cornstarch Snow Dough?
Cornstarch Snow Dough is a unique crafting material that combines cornstarch and conditioner (or other binders) to create an almost ethereal dough reminiscent of fresh snow. It's popular among parents and educators for its tactile experience, helping develop fine motor skills in little hands while offering a platform for imaginative play.
You might be wondering—when can I use this snow dough? Here are a few ideas:
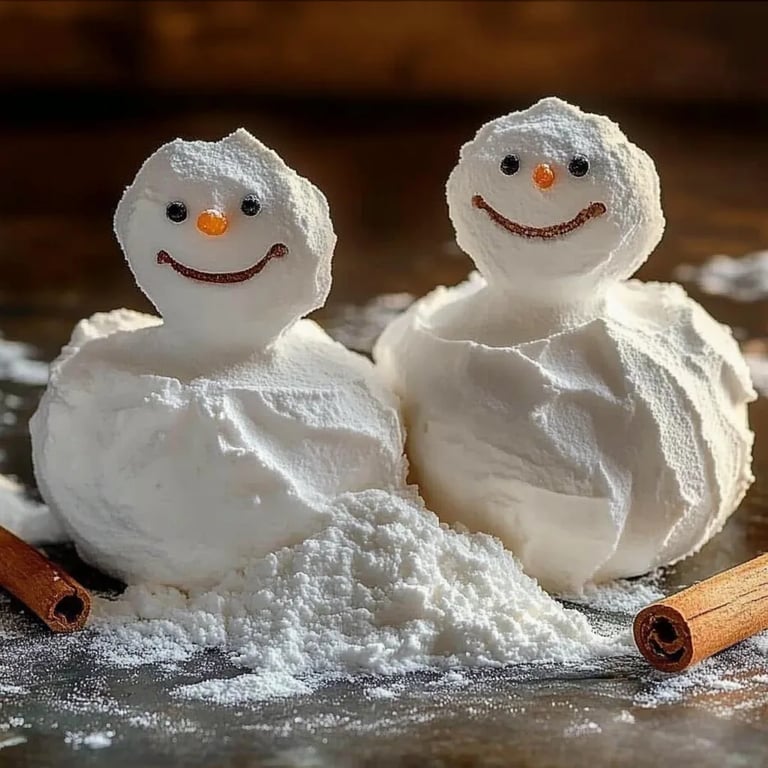
- Winter-themed crafts: Create snowmen, animals, or winter landscapes!
- Sensory bins: Let children explore the texture and temperature variations.
- Art projects: Mold miniature sculptures to foster creativity.
- Party favors: Package them as playful gifts for winter festivities.
As someone who has dabbled in crafting for years, I can attest to the soothing experience of creating with this snow dough. So let's dive into the process!
The Perfect Recipe for Cornstarch Snow Dough
Materials You'll Need:
- 2 cups of cornstarch: The base ingredient that gives our dough its snow-like texture.
- 1 cup of hair conditioner: This acts as the binding agent. I prefer a white, non-colored conditioner to keep the dough visually appealing.
- Optional: Food coloring: If you want to add a splash of color (imagine a pastel winter wonderland!).
- A large mixing bowl: To combine your ingredients.
- A mixing spoon or your hands: Get ready for a tactile experience.
- Measuring cups: Precision is vital for dough consistency.
- Storage containers: To keep your dough fresh and avoid drying out.
Step-by-Step Tutorial
Step 1: Gather Your Ingredients
Before you begin, make sure you have all the ingredients at hand. This will not only streamline the process but also enhance your crafting experience. I often lay everything out on my table like a mini workbench.
Step 2: Combine Cornstarch and Conditioner
In your large mixing bowl, measure out 2 cups of cornstarch and 1 cup of hair conditioner. Start by adding the cornstarch first. Then, pour in the conditioner. Why this order? This ensures the cornstarch gets coated evenly, creating a more consistent texture right from the start.
Step 3: Mix Until Integrated
Using your mixing spoon, combine the ingredients. Initially, it may seem like a daunting task, and you might feel like you’re making a crumbly mess. Don’t worry! This is completely normal. The magic happens when you begin getting your hands in there.
Around this point, you might be thinking, "Is this going to come together?" Yes! But if it feels too dry, add a teaspoon more of conditioner at a time, mixing thoroughly after each addition. Conversely, if it feels too sticky, sprinkle in some extra cornstarch, one tablespoon at a time.
Step 4: Knead for the Best Texture
After mixing, it’s time to get tactile! This is my favorite part. Knead the dough in your hands for several minutes. This process is crucial; it activates the ingredients and allows them to bind together perfectly. You want a soft, fluffy dough that holds together when squeezed but crumbles slightly when manipulated—think of it as the consistency of very fresh snow!
Common Problems:
- If it’s too sticky: Add more cornstarch, a little at a time.
- If it’s crumbling: Add a bit more conditioner, kneading until you reach the desired consistency.
Step 5: Optional—Add Color
If you desire color, this is where you’ll add it! I suggest letting the dough rest for about 10 minutes after kneading, then create a small depression in the dough and add one or two drops of food coloring. Fold the edges over and knead again until the color is evenly distributed. You can also create different colored dough balls for added fun!
Step 6: Store Your Snow Dough
Once you've achieved that snowy texture, you’ll want to store it correctly. Place your dough in airtight containers to prevent it from drying out. It can last for a few weeks if kept sealed. Trust me—there's nothing more disappointing than returning to a dry, crumbly mess after a day or two!
Tips and Tricks for Success
- Crafting Sensory Bins: Consider adding tools such as cookie cutters, rolling pins, and mini figurines. This encourages kids to engage more creatively with the dough.
- Safety First: Although the ingredients are non-toxic, this dough should not be ingested. Monitor younger children during play to ensure it remains a fun, safe activity.
- Alternative Materials: Instead of hair conditioner, you can experiment with alternative binders like lotion or even liquid soap. Just ensure they have similar consistency properties.
- Creative Variations: If you want to give a twist to your snow dough, incorporate glitter for a bit of sparkle or essential oils for a pleasant fragrance.
- Holiday Themes: During the festive season, consider making peppermint or gingerbread scented snow dough by adding essential oils or extracts. This adds a whole new dimension to your crafting experience.
Conclusion
And there you have it! A simple, engaging, and fun way to create your own Cornstarch Snow Dough. As I wrap up my crafting mentor duties for today, I encourage you to experiment with this recipe. Trust in your ability to create and embrace the joyous messiness that comes with crafting.
Remember, crafting isn’t just about the final product—it’s about the process, the joy of getting your hands busy, and the smiles that come from creating something special. I’d love to hear your experiences with Cornstarch Snow Dough, any variations you tried, and the collective giggles from kids experiencing its sensory wonder!
Happy crafting, and may your snow dough adventures be as soft and fluffy as the snowflakes that inspire them!