Crafting Joy: How to Make DIY Plastic Lid Suncatchers
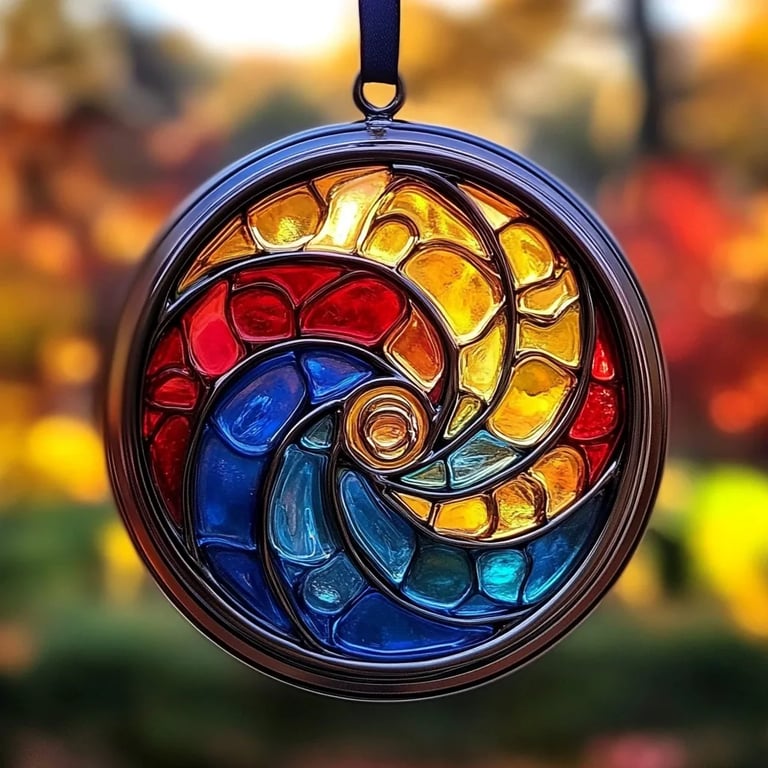
Welcome to my crafting corner! Today, I'm thrilled to share an exciting project that brings a splash of color to your home and brightens your day: DIY Plastic Lid Suncatchers! These delightful creations are not just eye-catching; they're a fantastic way to recycle plastic lids, engage kids in a creative activity, and enhance your living space with unique and personalized decor. Perfect for hanging in windows or even gifting as thoughtful handmade presents, these suncatchers are a joy to make, especially when the sunlight streams in and casts vibrant colors around the room.
Why Are Suncatchers So Popular?
Suncatchers have a cherished place in the hearts of many, particularly as children’s crafts projects. They embody the joyous blend of creativity and functionality. Each suncatcher reflects the sunlight, creating dancing rainbows on walls and floors and inspiring wonder in kids and adults alike. The ability to customize them fully means you can match them to your unique decor style or seasonal themes, making them a versatile addition to any home.
Getting Started: Materials You'll Need
Before diving into the tutorial, let’s gather the materials. Don’t worry; this project is accessible and doesn't require fancy supplies.
- Materials:
- Colorful plastic lids (soda bottles, milk jugs, or food containers)
- Sharp scissors or a craft knife
- Transparent contact paper or self-adhesive laminating sheets
- Colored tissue paper (or any thin, translucent paper)
- Black Sharpie or permanent marker
- String or fishing line (for hanging)
- Hole punch (optional)
- Paintbrush (optional)
- Tools:
- A work surface covered with craft paper or newspaper to contain any mess.
- Safety scissors for younger kids.
Step-by-Step Tutorial: Crafting Your Suncatchers
Step 1: Gather Your Plastic Lids
First, let’s collect our plastic lids! The vibrant colors of the lids will serve as the base for your suncatcher. I find that using a variety of sizes and colors adds dimension and visual interest. You can also work with friends or family to gather them from your recycling bins!
Tip: Avoid lids that are too rigid or thick; thinner lids work better since they’ll be easier to cut and transparent sheets will adhere better.
Step 2: Design Your Suncatcher
The design phase is where the magic begins! On the inner side of your plastic lid, use a black Sharpie to outline a simple design, such as a flower, star, or abstract patterns. Alternatively, if drawing isn’t your forte, you can find templates online and trace them.
What Could Go Wrong? If your design is too complicated, you might end up frustrated during the next steps. Stick to shapes you feel comfortable cutting!
Step 3: Cut Out the Designs
With a sharp pair of scissors or a craft knife, carefully cut along the lines of your design. For intricate designs, take your time to ensure each cut is precise.
Safety Warning: If you're using a craft knife, ensure you're working on a cutting mat, and keep your fingers clear of the blade.
Anecdote: I vividly remember my first attempt at cutting a flower shape; I snipped off a petal! Instead of panicking, I adjusted the design to incorporate it into the style, making it a quirky, asymmetrical flower. Sometimes, what may feel like a mistake can turn into a creative opportunity!
Step 4: Prepare Your Colorful Fill
Now it’s time to infuse some color into your suncatcher! Cut or tear colored tissue paper into small pieces; a variety of colors adds more dynamic patterns. If using other translucent paper, make sure they are thin enough to allow light through.
Step 5: Assemble the Suncatcher
Using a paintbrush (or your fingers if you prefer), apply a thin layer of glue to the back side of the plastic lid, and start placing the tissue paper pieces within your design. Overlap colors and create patterns as you like, ensuring no white areas are left bare.
Why This Step Matters: The glue needs to be applied evenly. Too thick, and it may show through the tissue paper; too thin, and the paper might not adhere properly.
Step 6: Seal Your Creation
Once everything is glued down, it’s time to protect your artwork! Cut a piece of contact paper or laminated sheet slightly larger than your lid and place it sticky-side down over the design. Smooth out any air bubbles gently with your fingers.
What Could Go Wrong? Bubbles can trap moisture and dust. They may also affect how light filters through the paper. If you encounter this, a fine pin can help release any trapped air.
Step 7: Trim & Finish Up
Carefully trim away the excess contact paper. If using a hole punch, punch a hole at the top of your suncatcher for hanging purposes. Feed a piece of string or fishing line through the hole for hanging.
Creative Variation: If you want to embellish further, you can add beads or sequins to the string before hanging!
Final Thoughts & Displaying Your Suncatcher
Now that your suncatcher is complete, find a sunny window in your home, and hang it up! Watch as the sunlight dances through the colors you've chosen, filling your space with warmth and cheer.
Alternative Method: Instead of using lids, you can also make suncatchers by using clear CD cases or cut-up plastic bottles. The same process applies, and you’ll have a similar charming effect.
Safety Tips
- Ensure that young children are supervised, especially when using scissors or other cutting tools.
- Use non-toxic materials for glue and craft supplies.
Encouragement to Embrace Your Creativity
Creating DIY Plastic Lid Suncatchers is more than just a craft; it’s an opportunity to repurpose materials and let your creativity shine. Don't hesitate to experiment with colors, shapes, and sizes—your creations will surely inspire joy as they catch the sunlight!
Remember, crafting is all about exploration and expression; there are no wrong ways to create. I hope this tutorial inspires you to embark on your own colorful crafting journey! Happy crafting, and may your home be filled with light and love from your beautiful suncatchers!