Crafting Joy: How to Make a Beautiful Cardboard Tube Dragonfly
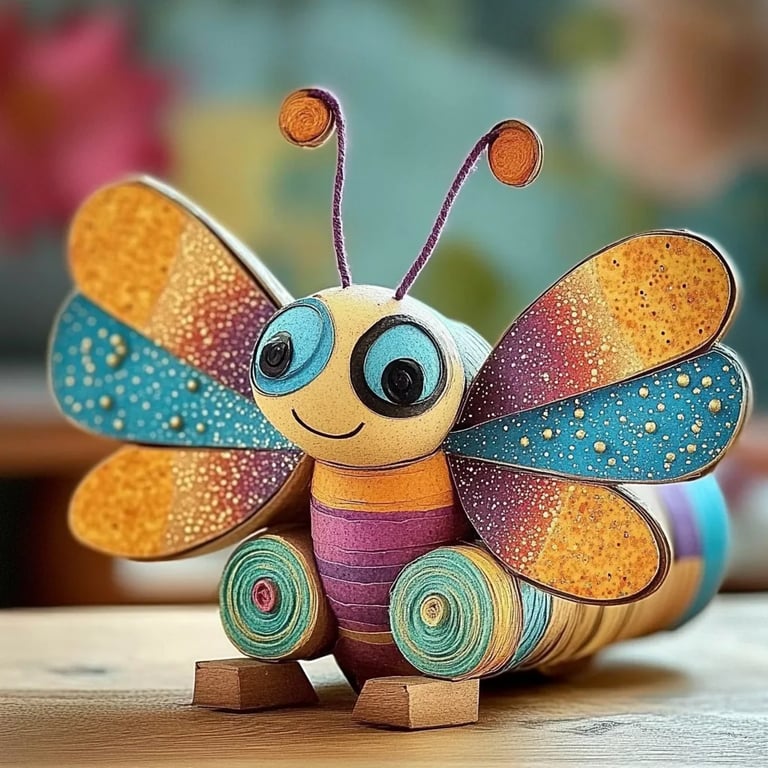
Welcome, fellow crafters! Today, I’m excited to share with you a delightful project that’s sure to bring a splash of color to your home or garden: the Cardboard Tube Dragonfly. This charming decoration is not only an excellent way to repurpose materials lying around your home, but it also provides a fantastic crafting opportunity to express your creativity and artistic flair. Whether you’re looking for a fun activity to keep the kids engaged on a rainy day, or you want to create unique garden decor, this dragonfly craft is perfect for all ages and skill levels.
Why Cardboard Tube Dragonflies?
While crafting has countless benefits—like enhancing fine motor skills for kids, or providing relaxation for adults—this particular project stands out because of its simplicity and accessibility. With a few basic materials, you can transform ordinary cardboard tubes into enchanting dragonflies that flutter in the breeze. It's a project that’s at once playful and meditative. Plus, the joy of creating something beautiful out of recycled materials can’t be overstated!
When and How to Use Your Cardboard Tube Dragonflies
Once completed, your cardboard tube dragonflies can brighten up various spaces:
- Indoor Decor: Hang them in a child's room or nursery.
- Garden Art: Place them amongst the flowers; they make great conversation starters and add charm to your outdoor space.
- Event Decorations: Use them for birthday parties, outdoor gatherings, or as a whimsical touch for crafting fairs.
Are you ready to become a crafting wizard? Let’s dive into this step-by-step tutorial!
—
Materials Needed
Before we start crafting, gather your materials. Here’s what you’ll need:
- Cardboard tubes (toilet paper or paper towel tubes work great)
- Acrylic paints or markers (in vibrant colors)
- Scissors
- Glue (hot glue for quick drying or white school glue)
- Craft wire or pipe cleaners (for the wings)
- Beads, sequins, or googly eyes (for additional decoration)
- Paintbrushes (if using acrylic paint)
- Paper or lightweight fabric (for the wings)
- Tweezers (optional for handling small decorations)
- Clear sealant spray (for outdoor use)
—
Step-By-Step Tutorial
Step 1: Preparing the Cardboard Tube
Firstly, I’ll take a cardboard tube (let’s say a toilet paper roll) and carefully cut it in half to create two shorter tubes. This process is straightforward—just make sure you have sharp scissors! Be cautious so you don’t accidentally cut your fingers. If you’re crafting with kids, supervise them during this step to avoid any mishaps.
Why This Matters: Shortening the tube will create a more manageable body for the dragonfly. A tube that’s too long may look awkward.
Step 2: Creating the Dragonfly Body
Next, I’ll paint the tube in a base color—let’s go with a cheerful blue. Using a paintbrush, I make sure to cover the entire surface evenly. If you're using acrylic paint, remember to work in a well-ventilated area. I usually go for multiple light coats for a smooth finish. After painting, I let it dry completely.
Tip: If you don’t have paint, markers work just as well for a quick craft session!
What Could Go Wrong: If the paint is too thick, it can dry unevenly, leading to a rough finish. Apply thin layers, and allow each to dry before adding more.
Step 3: Crafting the Wings
Crafting the wings is where the magic truly happens. I cut out two large wing shapes from paper or lightweight fabric—think butterfly wings or dragonfly wings shaped like an elongated oval. The size can be adjusted based on preference; larger wings create a whimsical look!
Next, I’ll decorate the wings with more color using markers, glitter, or even small sequins for an extra layer of sparkle. Let your imagination run wild!
Tip: If using fabric, consider fringing the edges for a more delicate, airy appearance.
Alternative Method: Instead of paper or fabric, you can use felt for a sturdier wing—this also adds a lovely texture.
Step 4: Attaching the Wings
Here comes one of the most fundamental parts: attaching the wings! I take the craft wire or pipe cleaners to create the wing framework. I shape two parallel arcs and twist them together in the middle, creating a figure-eight shape.
To attach the wings firmly to the body, I use hot glue on one end of the wing frame, pressing it into the top back of the cardboard tube. Make sure it’s secure before moving on.
Why Wing Positioning Matters: Wings positioned too far back or too forward can change the dragonfly's balance visually, affecting its overall look and aesthetic.
Step 5: Adding the Eyes and Personal Touches
To bring my dragonfly to life, I glue on googly eyes for an adorable touch! At this stage, I also like to embellish the dragonfly with fun details—maybe attach bead “jewels” using glue or a decorative twine wrapped around the body.
Personal Anecdote: I remember my first attempt at this project; I went overboard with sequins, and while it turned out sparkly, it ended up being a bit heavy for the wings! So, moderation is critical!
Step 6: Final Touches and Outdoor Sealant
Once assembled, I apply a clear sealant spray if I plan to place my dragonfly outside. This extra layer protects it from the elements and enhances its durability.
Creative Variations
Feel free to mix and match! Try creating a bunch of colorful dragonflies in different sizes or experiment with different materials for the wings. You could even create themed dragonflies, such as those based on popular myths or fairy tales.
Safety Warnings
- Always supervise children when using scissors and hot glue.
- Ensure good ventilation when painting or using sealants.
Final Thoughts
And there you have it! You’ve crafted your very own Cardboard Tube Dragonfly! I hope you enjoyed this process as much as I did. Remember, crafting is not just about the final product; it’s about enjoying the journey along the way. Feel free to share your creations with family and friends, or even better—host a crafting day featuring our dragonfly friends. Happy crafting, and may your new dragonflies bring you endless joy and inspiration!