Crafting Glow Stick Bottles: A Step-by-Step Guide to Illuminating Your Celebrations
As an experienced crafter, I’ve found that few things can transform a gathering into a magical experience quite like glow stick bottles. These mesmerizing creations not only illuminate an event but also add a playful touch whether you’re hosting a birthday party, a summer BBQ, or a nighttime wedding reception. There’s something inherently joyful about light and color, and these glow stick bottles can ignite that joy in a simple yet stunning way.
In this guide, I’ll walk you through the entire process of making glow stick bottles, sharing personal insights, tips, and alternative methods along the way. By the end of this tutorial, you'll possess the knowledge to create these enchanting decorations and revel in the admiration of your friends and family.
What Are Glow Stick Bottles?
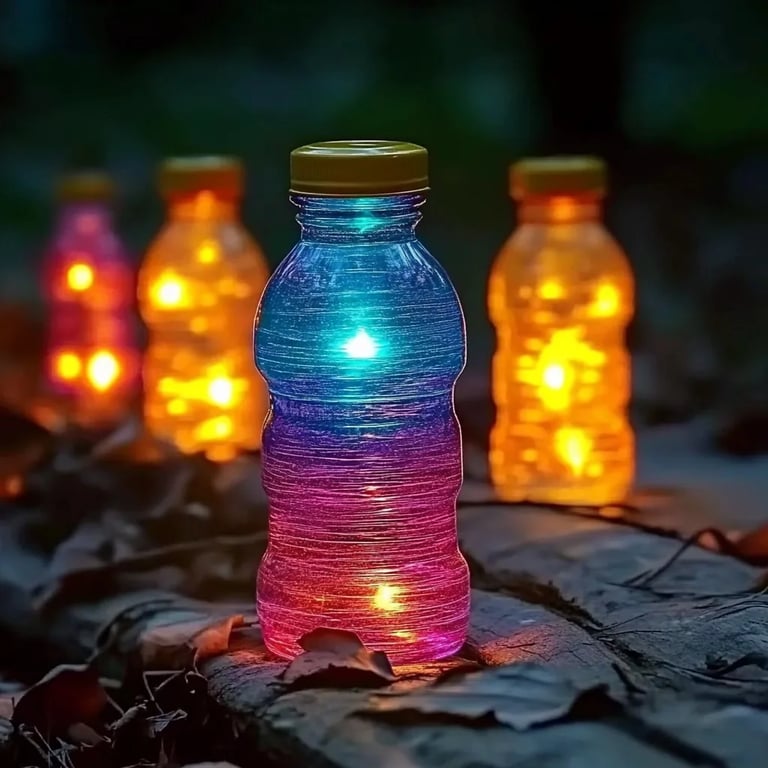
Glow stick bottles are simply containers filled with an assortment of glow sticks, water, and perhaps some glitter or additional decorations to enhance the appearance. When shaken, they produce a beautiful, glowing effect that can light up any space. These bottles are incredibly popular for celebrations that occur after dark, such as Halloween parties, concerts, and nighttime weddings.
Why Make Glow Stick Bottles?
The allure of glow stick bottles lies not only in their aesthetic charm but also in their versatility. They can serve as table centerpieces, light sources, or fun party favors. Plus, crafting these bottles is an enjoyable and engaging activity. You'll find that they suit various occasions—whether you’re celebrating a child’s birthday or throwing a sophisticated glow-in-the-dark cocktail party—as they can be customized to fit any theme or mood.
Materials You Will Need
Before we begin, let’s gather all the materials you’ll need for this project:
- Plastic bottles (water bottles or any transparent plastic container)
- Glow sticks (variety of colors)
- Water
- Glitter or confetti (optional for extra sparkle)
- Batteries or LED tealights (if you want extra illumination)
- Scissors (if you need to cut the glow sticks)
- Funnel (to make pouring easier)
- Super glue or waterproof adhesive (to secure lids, if necessary)
- Tape (optional; for decorating bottles)
- Decorative elements (like stickers or paint for personalization)
Step-by-Step Tutorial
Step 1: Prepare Your Workspace
Start by finding a clean, flat surface to work on. Since we’ll be dealing with glow sticks, and they contain a liquid that can be messy if broken, it’s essential to protect your work area. Lay down a plastic sheet or some old newspaper to catch any stray drips.
Step 2: Select Your Bottles
Choose the bottles you wish to use. I often opt for clear plastic water bottles because they’re readily available and easy to handle. Keep in mind the size—larger bottles provide more room for glow sticks and water, while smaller bottles can be a cute addition to your centerpiece decorations.
Step 3: Activate the Glow Sticks
Now for the fun part! Take your glow sticks and snap them to activate the glow. You’ll hear a cracking sound—that’s the chemical reaction kicking in! Once activated, it’s best to use them within a few hours for optimal glow.
Step 4: Cut Open the Glow Sticks
With scissors, carefully cut the ends of the glow sticks and pour the contents into your bottles. Be careful! This is where many beginners encounter a snag. The liquid inside is a chemical concoction that should not touch your skin or be ingested. If you accidentally spill, use a damp cloth to clean it up immediately and dispose of it safely.
Step 5: Fill with Water
Using a funnel, pour water into the bottles. This helps diffuse the glow and creates a mesmerizing illuminated effect. You want just enough water to cover the glow stick contents, but not so much that it overflows when moved.
Step 6: Add Glitter
For an added touch of whimsy, sprinkle in some glitter or confetti. This enhances the aesthetics when the glow from the sticks interacts with these sparkles, producing a captivating twinkling effect. If you’re working with children or at outdoor events, ensure you’re using biodegradable glitter for an eco-friendly option.
Step 7: Seal the Bottles
Once you’re happy with the look, securely fasten the lids. I recommend using super glue or waterproof adhesive if you want to ensure that the lids stay on during your celebrations. This prevents any spills from occurring, especially if the bottles are jostled.
Step 8: Add Extra Lighting (Optional)
If you want your glow stick bottles to glow even brighter, consider placing a battery-operated LED tealight inside before sealing the bottle. This step is entirely optional but can amplify the effect when the glow sticks dim over time.
Creative Variations
After you’ve mastered the basic glow stick bottles, let’s explore some creative variations:
- Themed Colors: Use glow sticks that correspond with your party’s color scheme. For instance, red and green for Christmas, or pastels for a spring event.
- Character Shapes: You could create bottles shaped like characters by using colored paper to wrap the bottles.
- Floating Candles: Create a beautiful outdoor centerpiece by using small containers filled with water topped off with floating candles and glow stick bits on the inside.
Safety Precautions
- Chemical Awareness: Always remember that the contents of glow sticks can be toxic if ingested. Keep them away from children, and wear gloves when cutting them.
- Clean Up: Ensure that any broken glow sticks are cleaned up properly to prevent accidents and contamination.
Final Thoughts
Creating glow stick bottles is not just about crafting, it’s about igniting creativity and setting a mood that makes memories shine. I’ve made these bottles for everything from summer parties to winter festivities, and I can assure you, each time they bring smiles and excitement.
Feel free to get adventurous with your designs, experiment with colors, and make them your own! I encourage you to gather your friends or family and craft together—it can turn into a cherished tradition or simply an enjoyable way to spend an afternoon.
So roll up those sleeves, gather your materials, and let your creativity glow!