Crafting Fire & Rain: How to Create Rainbow In A Jar
As an avid crafter and DIY enthusiast, there's something incredibly satisfying about making art that speaks to the imagination. One of my favorite projects is the *Fire & Rain Rainbow in a Jar*. This delightful craft is not only visually stunning, but it also serves as a wonderful decoration that can brighten up any space. It's perfect for a rainy day activity with kids, a fun party project, or even as a heartfelt gift for loved ones.
What is Fire & Rain Rainbow In A Jar?
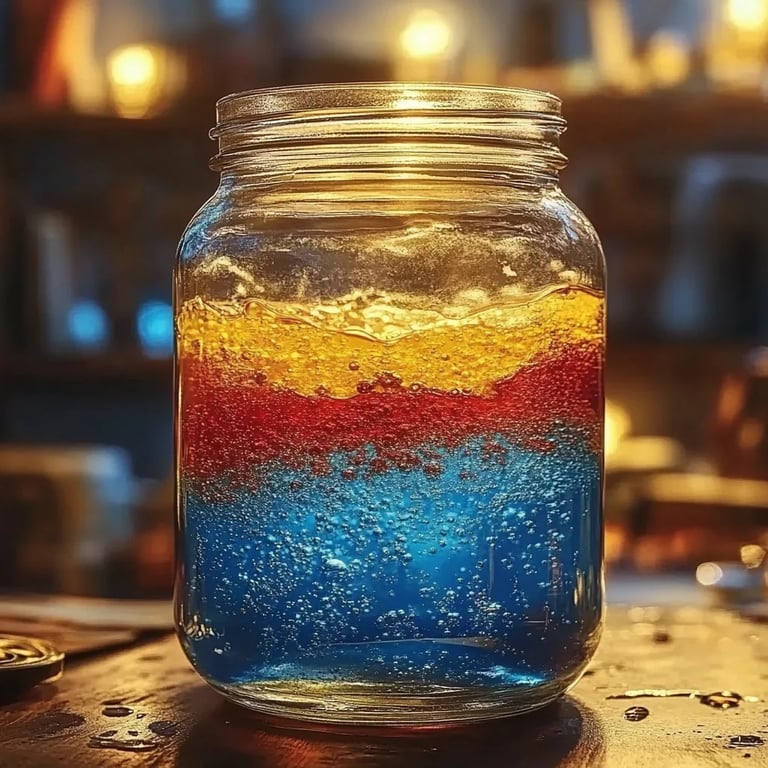
The Fire & Rain Rainbow in a Jar is a layered water display that showcases vivid colors, resembling a whimsical rainbow contained in a jar. Each color is created using simple ingredients, making it an accessible project for crafters of all ages. The beauty of this jar lies not only in its vibrant hues but also in how it captures the imagination, reminding us of the rain showers that lead to beautiful rainbows and that sparkle and shimmer just like fire.
Why is it Popular?
This project has surged in popularity for several compelling reasons:
- Visual Appeal: The layered colors draw the eye and can fit into any decor style.
- Therapeutic: The process of making it is relaxing and provides a sense of accomplishment.
- Educational: It offers a wonderful opportunity to teach kids about density and mixing colors.
- Versatility: Use it as decoration for events, gifts, or to spark creativity in your personal space.
Now, let’s dive into the steps to create your very own Fire & Rain Rainbow in a Jar!
What You'll Need
Before we jump into the tutorial, let me guide you through the materials you'll require. You might already have many of these items at home:
Materials
- A clear glass jar or vase (preferably wide-mouth to allow easy layering)
- Water (distilled or tap)
- Sugar (approximately 1 cup)
- Food coloring (5 different colors: red, orange, yellow, green, blue, purple)
- A spoon (for stirring)
- Measuring cups (to ensure accurate ingredient measurement)
- Dropper or small funnel (to help with layering)
- Optional: Glitter, small beads, or other decorative elements for added visual interest
Safety Warnings
- Supervision Required: If children are involved, make sure to supervise the use of food coloring, as it can stain hands and clothes.
- Glass Jar: Use caution when handling glass—safety first!
The Step-by-Step Process
Now, let’s get started! Here’s how I approach the creation of the Fire & Rain Rainbow in a Jar step by step.
Step 1: Create Colorful Sugar Solutions
- Prep Sugar Water: Begin by preparing five different colorful sugar solutions. In separate bowls, mix 1/4 cup of sugar with 1/4 cup of hot water. Stir until the sugar fully dissolves.
- Add Color: Using food coloring, add a few drops to each sugar solution. Depending on how intense you want the colors, you can adjust the amount. Remember, darker colors make a more pronounced layer!
- Tip: Start with just a couple drops and gradually add more until you achieve your desired color.
Step 2: Layering the Colors
- Start with the Heaviest Layer: Carefully pour the purple solution slowly into the bottom of your jar. Use a dropper or small funnel to avoid splashing.
- Careful Pouring of Remaining Layers: To successfully layer the remaining colors, you need to build each successive layer more gently. You can do this by pouring the liquid onto a spoon held upside down, allowing it to gently flow down the spoon without disturbing the previous layer.
- Colors in Order: The order from bottom to top should be purple, blue, green, yellow, orange, and red.
- Common Mistake: If the colors mix, this means you’re pouring too quickly or with too much force. Just take your time!
Step 3: Adding Decorative Elements
This step is optional but highly encouraged! Once you’ve added all the colored solutions, sprinkle glitter, tiny beads, or anything else that catches your fancy.
- Why This Matters: These decorative elements add texture and visual appeal, enhancing the overall look of your rainbow.
Step 4: Let it Settle
After finishing the layering, allow your jar to sit undisturbed for a few hours. This helps the layers stabilize before you display it.
Troubleshooting Common Issues
Even seasoned crafters face hiccups from time to time. Here are a few common issues and how to fix them:
- Mixing Colors: If your layers mixed during pouring, try pouring a bit more of the top layer over a spoon to separate them. This can sometimes help settle layers back mildy.
- Too Much Color: If a color appears too vibrant, you can dilute it with a bit of plain water to soften it.
- Clarity of Layers: If your layers look muddied, try refraining from stirring once they've settled. The addition of glitter can camouflage slight mixing.
Alternative Methods or Ingredient Substitutions
If you want to play around with this project, consider these variations:
- Alternative Liquids: Instead of sugar water, you can use clear liquid gels or colored drinks (like soda) for a different effect.
- Natural Dyes: For a more eco-friendly approach, use extracts or natural dyes like beetroot or turmeric.
- Different Textures: You can substitute sugar with salt for a different look and texture, but be aware it will not provide the same layered clarity.
Personal Anecdote
I distinctly remember the first time I made a Rainbow in a Jar with my niece. Seeing her delight as we layered the colors together was a pure joy! She loved getting her hands involved, and by the end, we had a beautiful centerpiece for our dinner table that sparked conversations around the colors, creativity, and science behind what we were doing. It's amazing how crafting can connect generations!
Final Thoughts
Creating your own Fire & Rain Rainbow in a Jar not only provides a sense of accomplishment but results in a beautiful piece that adds color and character to any room. Remember to be patient, take your time with each layer, and most importantly, enjoy the crafting process.
I hope you find this project as enjoyable as I have! Feel free to modify and make it your own—there are no limits to your creativity. Happy crafting!