Crafting Enchantment: How to Make Light-Up Scarecrow Mason Jars
When the leaves start to turn, and the crisp autumn air wraps around us like a cozy blanket, it's my favorite time of year to embrace the harvest spirit. Amongst the bountiful pumpkins and colorful fallen leaves, I find joy in crafting seasonal décor that welcomes the warmth of home. One of my absolute favorite projects is creating Light-Up Scarecrow Mason Jars—adorable, whimsical, and the perfect companion to brighten up my fall and Halloween decorations. These enchanting jars not only illuminate your space with soft, inviting light but also serve as festive conversation starters at gatherings.
In this detailed guide, I’ll walk you through every step of the process—sharing tips, insights, and a sprinkle of personal anecdotes that I hope will inspire your creativity as you embark on this delightful DIY journey.
Why Light-Up Scarecrow Mason Jars?
Light-Up Scarecrow Mason Jars are a charming blend of rustic and whimsical, representing the spirit of the season. They’re versatile enough to be used for Halloween parties, fall-themed events, or simply as cozy décor in your home. Over the years, I’ve found that they even make heartfelt gifts for friends and family, adding a personal touch to the festive spirit.
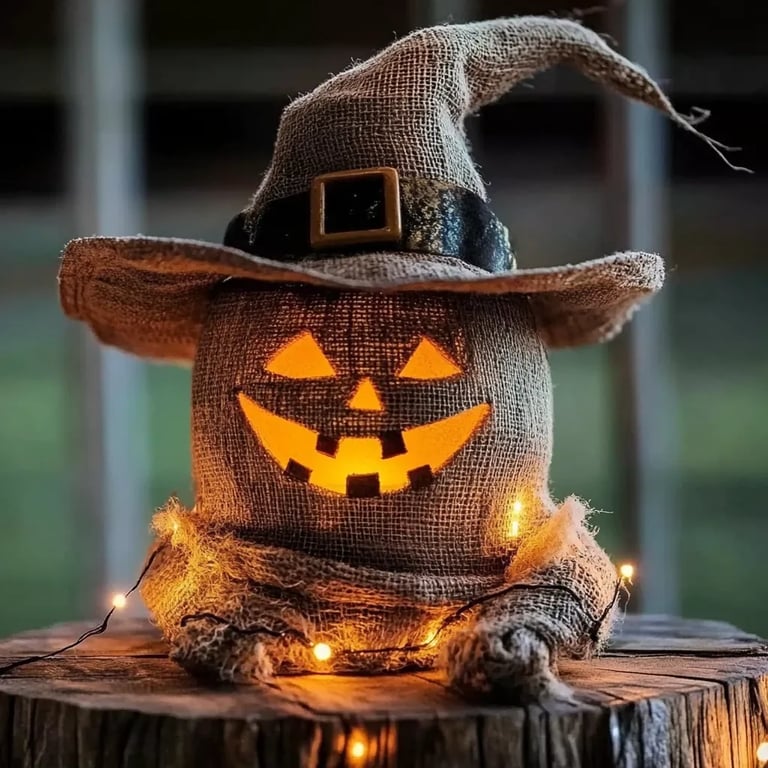
These jars, illuminated with soft lights, cast a magical glow that enhances the whimsical character of a scarecrow—perfect for brightening a chilly autumn evening. Imagine placing them on your porch steps or as a centerpiece for your dining table! Not to mention, crafting them allows you to unleash your creativity and personalize each jar to fit your unique style.
Let’s make some magic happen!
Materials Needed
Before we dive into the crafting process, let’s gather our materials. Here's what you'll need:
- Mason Jars (regular-sized)
- Acrylic Paint: Yellow, orange, brown, and black
- Paint Brushes: A variety of sizes (small detail brush and wider brushes)
- Mod Podge or Craft Glue
- Burlap or Cotton Fabric: For the scarecrow's hat
- Twine or Raffia: For securing the hat and adding decorative touches
- Battery-operated Fairy Lights: Make sure they fit inside the jar
- Scissors
- Hot Glue Gun and Glue Sticks
- Craft Foam or Paper: For facial features
- Adhesive Vinyl (optional) or Stencils for lettering and decorative designs
- Sealant (optional): If you want to protect your painted design
Crafting Safety Tips
Before we embark on our creative journey, I want to stress safety. Always ensure you’re using a hot glue gun carefully—those glue sticks can be very hot and can cause burns if you’re not mindful. Also, when using scissors, guide them away from your body and fingers to prevent accidents.
Step-by-Step Tutorial
Step 1: Prepare Your Mason Jars
First things first—clean your jars thoroughly. I like to wash them with warm, soapy water and let them air dry completely. This ensures that any residue is removed, which helps your paint adhere better.
Step 2: Paint the Base Layer
Next up is the fun part! Using yellow acrylic paint, generously coat the outside of the mason jars. This will serve as the base color for your scarecrow. You might want to do two coats for a more vibrant look, allowing each coat to dry completely before applying the next.
Pro Tip: If you’re in a hurry, use a hairdryer to speed up the drying process!
Common Mistake: One pitfall is not using enough paint or applying it too thickly. If you notice any streaks after it dries, a second coat will usually take care of it.
Step 3: Add Facial Features
Now it’s time to create the personality of your scarecrow! With a smaller brush, use brown paint to create a stitched mouth, eyes, and cheeks on the front of the jar. For the eyes, you might choose to cut out shapes from craft foam or paper and glue them on for a 3D effect.
Fixing Flaws: If you accidentally make an error while painting, don’t panic! Simply wait for the paint to dry, and you can easily paint over it.
Step 4: Create the Scarecrow’s Hat
Cut a 5×5 inch square from the burlap or cotton fabric—this will be the scarecrow's hat. You can fray the edges for a rustic touch. Place the fabric on top of the mason jar and use twine or raffia to tie it around the neck of the jar, allowing some fabric to hang over.
Alternative Method: You could also craft a mini paper hat if you don't have burlap on hand. Just fold a piece of card stock into a triangular shape and adjust it to fit the jar.
Step 5: Secure the Lights
Now, carefully insert the battery-operated fairy lights inside the jar. When arranging the lights, I like to spread them out for even illumination. Once you’re satisfied with how they look, replace the jar lid if you’d like, or leave it off for a more open design.
Step 6: Finishing Touches
Add final touches—maybe write a phrase like “Harvest Blessings” on adhesive vinyl or with a paint pen around the base of the jar. If using access paint, remember to seal it with a sealant for durability.
Creative Variations
- Themed Jars: Try creating various themes like ghosts or pumpkins using the same technique—just swap colors and facial features!
- Personalization: Add names or special messages for friends and family to make them unique gifts.
- Seasonal Adaptations: Change the designs for different seasons—add snowflakes for the winter or flowers for spring!
Wrapping Up Your Crafting Journey
Crafting Light-Up Scarecrow Mason Jars has become one of my most cherished autumn traditions. Whether you’re admiring them alone on a chilly afternoon or sharing them with loved ones, they surely bring joy and warmth to any space.
The beauty of crafting is that it's a journey of exploration and imagination, so don’t be afraid to experiment with your designs and materials. Even if things don’t turn out as perfectly as envisioned, remember that it’s all part of the creative process. Embrace the quirks and imperfections!
So, gather your materials, set up your crafting station, and dive into this delightful fall project. I can’t wait to see how your light-up scarecrow mason jars turn out! Happy crafting! 🍂✨