Crafting Beauty: How to Make Blue Crayon Raindrop Suncatchers
Hello, fellow crafters! Today, I'm excited to share with you a delightful and whimsical project that has become a staple in my crafting repertoire: Blue Crayon Raindrop Suncatchers. These delightful creations capture light beautifully and can brighten up any room with vibrant splashes of color.
What Are Blue Crayon Raindrop Suncatchers?
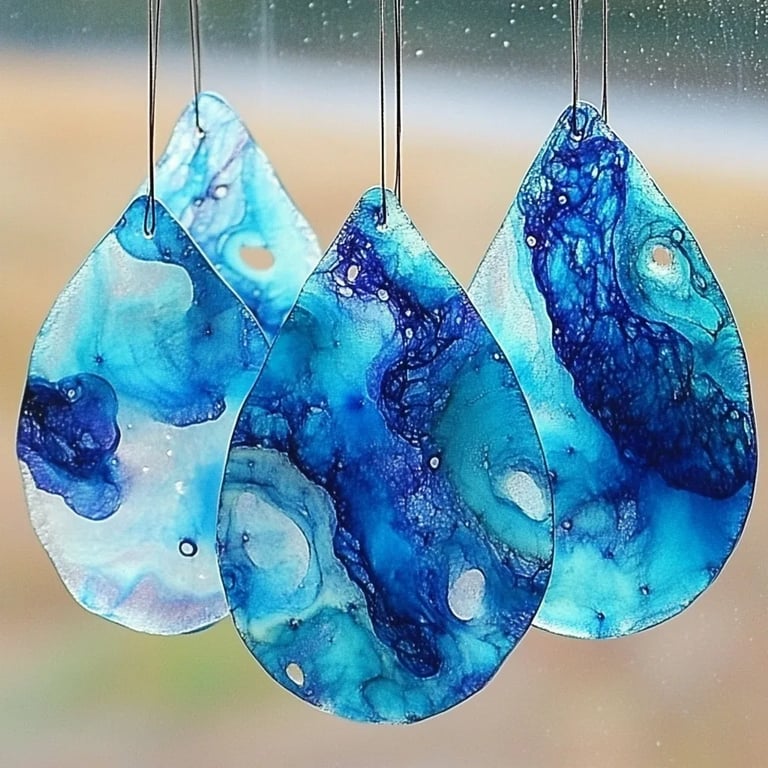
In essence, Blue Crayon Raindrop Suncatchers are decorative window hangings made from melted blue crayons shaped like raindrops. They’re not only a fun craft to make, but they also serve a practical purpose by filtering sunlight into colorful reflections that dance around your space. With a little creativity, these suncatchers can be used to adorn your windows during rainy days, or they can add a playful touch to a sunny afternoon. They’re perfect for brightening up a child's room, adding flair to your living area, or making heartfelt gifts that showcase your crafting prowess!
Why Are They Popular?
These suncatchers are loved by many for several reasons: they are visually stunning, they incorporate upcycled materials, and they are a fantastic, hands-on activity suitable for all ages. Moreover, they are relatively simple to create, making them an ideal weekend project or a fun afternoon activity with kids. Plus, how often do you get to melt crayons and create something as beautiful as these raindrops?
Materials You’ll Need
To get started on crafting your very own Blue Crayon Raindrop Suncatchers, gather the following materials:
- Blue crayons (I recommend using a combination of shades to create a beautiful gradient)
- Oven-safe silicone mold (a raindrop-shaped mold works best)
- Baking tray
- Parchment paper
- Oven (or a heat gun for a different technique)
- A small knife or crayon sharpener (to shave or chop your crayons)
- Fishing line or thin string (for hanging)
- Optional: Glitter or resin filler for an extra sparkle
These materials are easily accessible, and you might even have most of them at home already. If you don’t have an oven-safe mold, you can use a muffin tin or even a candy mold in a variety of shapes!
Step-by-Step Tutorial
Step 1: Preparing the Crayons
Why This Step is Important:
Getting your crayons ready is crucial to achieving beautifully melted suncatchers. The colors you choose will affect the overall look of your finished product.
What to Do:
- Start by peeling the wrappers off the blue crayons. This process can be a little tedious but is essential for proper melting.
- Break or chop the crayons into small pieces (about 1 inch). If you have a crayon sharpener, you can use that to shave the crayons as well.
Tips:
- If the wrappers are stubborn, you can soak the crayons in warm water to loosen them.
- Feel free to include different shades of blue (think navy, sky blue, and teal) to add depth to your suncatchers.
Step 2: Prepping the Mold
Why This Step is Important:
Properly preparing the mold ensures that the melted crayons will come out easily, and it also makes for a smoother finish.
What to Do:
- Lightly coat the inside of your silicone mold with a bit of cooking spray, or use parchment paper for easy removal.
What Could Go Wrong:
- If the mold isn’t prepared well, the suncatchers may stick and break when removed.
Step 3: Melting the Crayons
Why This Step is Important:
The melting process combines the colors and transforms the crayons into a liquid that will set into your stunning shapes.
What to Do:
- Preheat your oven to 250°F (120°C). Place the chopped crayons into the sections of the mold, filling them about 3/4 full.
- Place the mold on a baking tray to catch any drips, then pop it in the oven.
- Keep an eye on the crayons as they melt (usually around 10-15 minutes). Once fully melted, carefully remove the tray from the oven.
Safety Warning:
- Make sure to use oven mitts to avoid burns, as the melted crayon mixture will be extremely hot.
What to Do Next:
- Allow the melted crayons to cool and harden for about an hour at room temperature. Don’t rush this—the cooling process is essential for the best results.
Step 4: Removing the Suncatchers
Why This Step is Important:
Properly removing the suncatchers helps maintain their shape and ensures they don’t tear or break.
What to Do:
- Gently flex the silicone mold and pop out your beautiful blue raindrops. If they are stubborn, you can place them in the freezer for a few minutes to help with the release.
What Could Go Wrong:
- If they are still soft or sticky, give them more time to cool and firm up.
Step 5: Adding Hanging String
Why This Step is Important:
This final touch allows you to display your suncatchers as intended.
What to Do:
- Using a small drill or a sharp object (be cautious with this!), create a tiny hole at the top of each raindrop.
- Cut a length of fishing line or string, thread it through the hole, and tie a knot.
Step 6: Hang and Enjoy!
Why This Is the Best Step:
The moment has arrived! You can now hang your creations in your window or any spot that receives plenty of sunlight.
Where to Hang:
- Try placing them in a window that receives direct sunlight for the best effect!
Creative Variations and Alternatives
Depending on your mood or supplies, feel free to:
- Combine different colors beyond blue—sunny yellows or pastel pinks can create an adorable rainbow effect.
- Try using different shapes for your suncatchers, such as hearts or stars.
- Add glitter to the crayon pieces before melting for extra sparkle!
Personal Insights and Tips
Crafting is all about experimentation! I remember the first time I tried making these suncatchers; they didn’t turn out as expected. But after a few adjustments, I learned the importance of prep work and patience. Don’t be discouraged if the first batch doesn’t work perfectly. Crafting is a journey, and there’s always something new to discover!
Final Thoughts
Creating Blue Crayon Raindrop Suncatchers is not just a delightful craft but also an opportunity to express your creativity and brighten your home. I encourage you to gather your materials, set aside an afternoon, and let your imagination run wild. Happy crafting, and may your windows forever sparkle with the magic of your handmade suncatchers!
Remember, every crafting adventure is an opportunity for growth; embrace it! If you have questions or would like to share your creations, feel free to drop a comment below. I’d love to hear from you!