Crafting Beautiful Suncatchers for Earth Day: A Step-by-Step Guide
Hello, fellow crafters! With Earth Day just around the corner, I thought it would be the perfect time to share one of my all-time favorite craft projects: making vibrant suncatchers. Not only do these delightful pieces of art brighten up any space and celebrate the beauty of nature, but they also allow us to reflect on our responsibility to protect our planet. So, gather your supplies, and let’s dive into the world of suncatcher crafting!
What is a Suncatcher?
A suncatcher is a decorative object hung in windows or outside areas that catches sunlight and emits colorful reflections. Made predominantly of transparent materials, they are not only beautiful additions to homes and gardens but also a wonderful way to celebrate the season or occasion, such as Earth Day. People of all ages love creating and displaying suncatchers. They are great for teaching kids about colors, light, and nature while fostering creativity and resourcefulness.
Why Suncatchers are Popular
Suncatchers have gained popularity for several reasons:
- Easy to Make: They require minimal materials and can be crafted in a short time, making them perfect for all ages and skill levels.
- Versatile: Suncatchers can be made in countless designs and materials, allowing for personal expression and creativity.
- Inspirational Art: They reflect sunlight beautifully, turning any space into a colorful haven. Plus, they can be themed for any occasion, making them a cherished seasonal decoration.
Creating suncatchers is an enjoyable weekend project, especially as Earth Day encourages us to reflect on our relationship with nature.
Crafting Your Own Suncatcher: Step-by-Step Tutorial
Materials You'll Need
Before we get into the steps, let’s gather the materials you'll need. Trust me; this is half the fun!
- Transparency Sheets (like clear plastic sheets or old CD cases)
- Colored Tissue Paper (or cellophane)
- Scissors
- Pencil
- Glue (school glue or a glue stick)
- String or Fishing Line
- Hole Punch (optional)
- A sturdy surface for cutting
Step 1: Designing Your Suncatcher
Why It Matters: Planning your design will guide you in selecting the right colors and shapes.
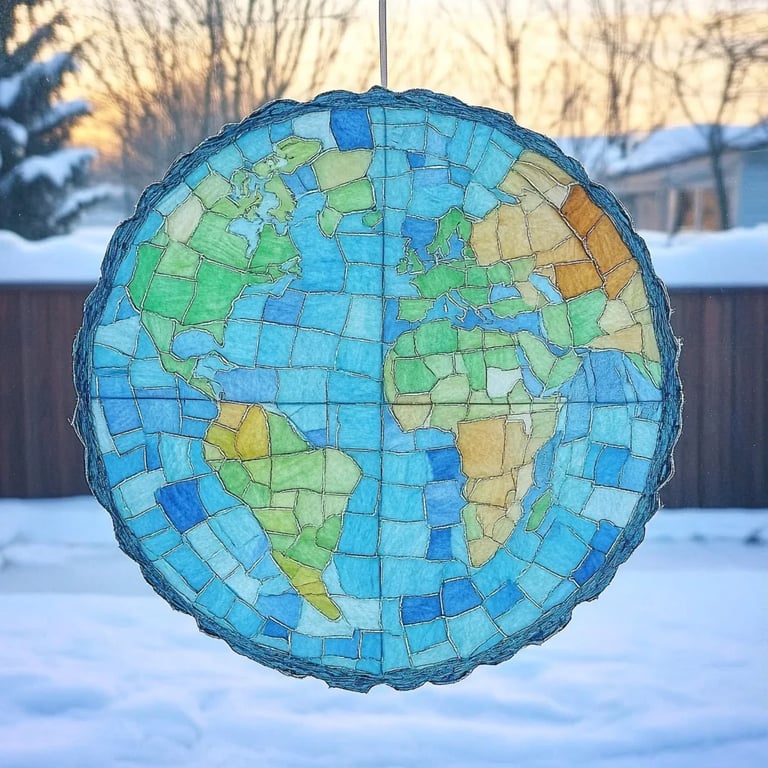
I always recommend starting with a simple sketch on paper. Choose shapes that resonate with Earth Day, such as trees, flowers, or even the globe. The simplicity of your design will determine how easily it comes together, especially if you’re crafting with kids.
Tip: If sketching isn’t your strong suit, you can also find templates online. Look for free printable designs!
Step 2: Cutting Your Base
Once you finalize your design, it’s time to create the base of your suncatcher.
- Using Transparency Sheets: Cut out your outlines from the transparency sheets. This will serve as the frame for your suncatcher. If you’re using CD cases, cut them into the desired shapes.
- Safety Warning: Remember to be cautious when using scissors—cut away from your body, and if children are involved, ensure that you supervise them closely.
Step 3: Preparing the Colored Glass
Why This Step Is Important: The colored tissue paper will be the stars of your suncatcher!
- Tear or cut the tissue paper into small pieces. Varying sizes add texture and can create a layered effect.
- Alternative Method: If you want a sturdier option, you can use colored cellophane for a more glass-like appearance.
- A Potential Pitfall: Be careful not to make the pieces too small, as they can be challenging to manage with glue.
Step 4: Assembling Your Suncatcher
- Glue Down: Apply glue onto your transparency or frame. Attach the pieces of tissue paper, covering them slightly to avoid gaps. You can organize them in a way that feels right to you—there are no mistakes in crafting!
- Drying Time: Allow the glue to dry for about 15-20 minutes. Patience is key here, as rushed crafts can lead to a messy outcome.
Tip: If you’re feeling adventurous, layer different colors to create a more textured feel.
Step 5: Cutting and Finishing Touches
- Once the glue has dried, trim any excess tissue paper hanging over the edges.
- To make it easy to hang, use a small hole punch to create a hole at the top of your suncatcher and thread a piece of string or fishing line through it.
Step 6: Displaying Your Artwork
Hang your suncatcher in a sunny window or outside in a sheltered spot. Watch in awe as light illuminates your craft, casting colorful reflections all around!
Creative Variations
Feeling inspired? Try these variations for a unique twist:
- Nature Themes: Gather small leaves or flower petals and adhere them with your tissue paper.
- Seasonal Designs: Create holiday-themed suncatchers—snowflakes for winter, hearts for Valentine’s Day, or pumpkins for Halloween.
- Mixed Media: Use paint to create a more intricate design before adding tissue.
Final Thoughts: Cherishing Our Craft
As we embrace Earth Day, let your suncatcher be a reminder of the beauty of nature and our responsibility to protect it. Each suncatcher you hang is not just an ornament but a celebration of creativity and sustainability.
Crafting should always be fun and relaxing. If a step seems daunting, don’t hesitate to adapt. Remember, the best part of crafting is the journey, not just the destination!
I hope you enjoy creating your suncatchers as much as I've enjoyed sharing my process. May your crafting bring joy and inspire a deeper connection with our beautiful Earth! Happy crafting!