Crafting Beautiful Natural Suncatchers: A Step-by-Step Guide
Hello there, fellow crafters! I’m thrilled to share one of my favorite DIY projects with you today—creating Natural Suncatchers. If you’ve ever seen a home adorned with multicolored rays of sunlight streaming through dainty, nature-inspired ornaments, you’ve likely encountered one of these beautiful creations. Not only do they brighten up your living space, but they also connect you to the beauty of the outdoors.
What are Natural Suncatchers?
Natural Suncatchers are decorative pieces made from organic materials like twigs, flowers, leaves, and even fruits. As sunlight shines through these crafted beauties, the materials refract light, casting colorful patterns and shadows that dance around your room. They are perfect for hanging in windows, on porches, or even outdoors in trees, adding a whimsical touch to any environment.
These suncatchers have gained immense popularity not just because of their beauty, but also because they allow us to celebrate the changing seasons and incorporate elements of nature into our living spaces. I often whip out my suncatchers during the spring and summer months, inviting the warmth and vibrancy of nature indoors.
Why Make Natural Suncatchers?
- Eco-Friendly: Using natural materials minimizes your ecological footprint.
- Therapeutic Activity: Crafting can be a wonderful stress reliever; working with your hands connects you to nature and sparks creativity.
- Customize Your Decor: You can tailor your suncatcher to fit your personal aesthetic or seasonal decor.
- Meaningful Gifts: Handmade gifts from nature carry a personal touch, making them cherished presents for friends and family.
What You'll Need
Before we dive into the process, let’s gather the materials we’ll be using. Best of all, you likely have many of these items already or can easily access them!
- Natural Materials: Twigs, flowers (pressed or fresh), leaves, and small fruits. I often use:
- Dried flowers (like lavender or daisies)
- Leaves (maple and oak work beautifully)
- Twigs (thinner branches are easier to work with)
- Clear String or Fishing Line: It is virtually invisible and will not detract from your suncatcher.
- A Frame: You can use a small hoop, an old picture frame, or even a slice of wood. My favorites are grapevine wreaths!
- Glue: A hot glue gun works wonders, or you can use a strong craft adhesive.
- Scissors
- Optional: Small beads, glitter, or translucent paper for adding extra flair.
Step-by-Step Tutorial: Making Your Natural Suncatcher
Step 1: Gather Your Materials
Why it matters: Gathering everything beforehand ensures a smooth crafting process and helps you avoid interruptions.
I love taking a leisurely stroll in the nearby park or my backyard, gathering materials. Keep an open mind about what you pick up, and don’t hesitate to try different textures and colors. Just make sure to follow any local guidelines regarding foraging (some areas may have restrictions).
Step 2: Prepare Your Workspace
Why it matters: A clean, organized workspace fosters creativity and minimizes accidents.
Set up your crafting station with all your materials at hand. You might want to protect your table with newspaper if you’re using glue. Add some tunes to get into the crafting mood!
Step 3: Select and Arrange Your Natural Materials
Why it matters: The arrangement will define the beauty of your finished product.
Lay out the twigs, flowers, and leaves in various designs. I often create a circular base with twigs and then start layering flowers from the center outward. Experiment with the placement until you’re satisfied!
Step 4: Secure Your Design
Tip: This is where your hot glue gun comes into play. Apply glue to the base of your twigs, then attach your flowers and leaves.
What could go wrong: If the glue doesn’t hold, your materials may fall apart. Make sure you use enough glue and allow it to dry for a few minutes before moving on.
Step 5: Add the Attachment Mechanism
Why it matters: You need a way to hang your suncatcher, so be sure that it’s both strong and invisible if possible.
Cut a length of clear string or fishing line. I prefer sewing the line directly into the suncatcher for a more secure hold. Make a loop at the top for easy hanging.
Step 6: Hang Your Suncatcher
Choose a bright spot in your home or garden. I recommend placing it near a window that receives a lot of sunlight. You will be amazed at how the colors come alive!
Tips and Variations
- Preserving Fresh Flowers: If you’d like to use fresh flowers, consider drying them first to extend your suncatcher's lifespan. Blooming flowers can be pressed to maintain their color.
- Mixing Materials: I enjoy integrating small glass beads or faux pearls, enhancing the sparkling effect of sunlight.
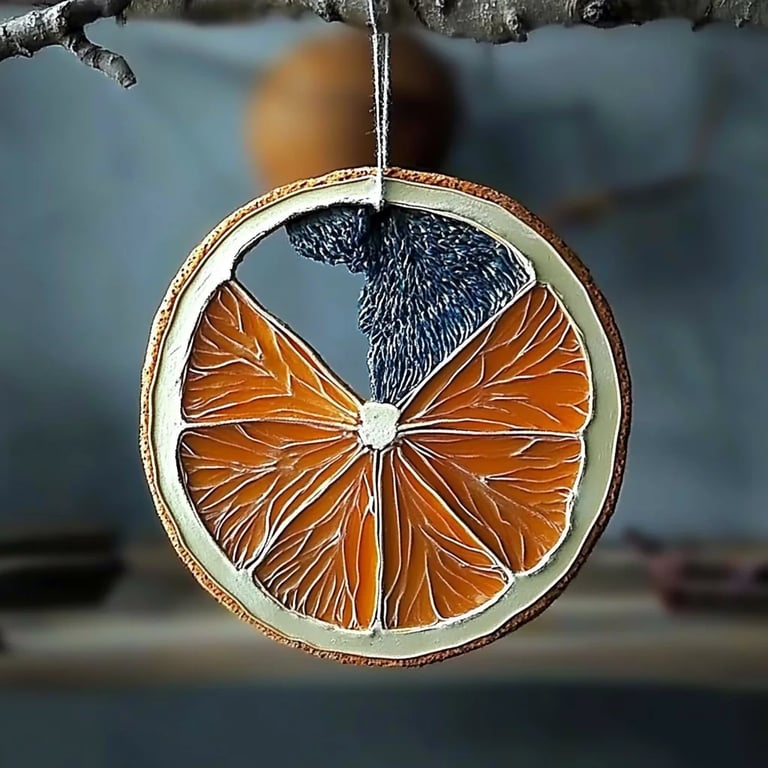
- Theme It!: You can create seasonal suncatchers. In autumn, use rich oranges and reds from dried leaves; in winter, dried citrus slices can lend a festive touch.
Conclusion
Making Natural Suncatchers is not just a crafting project—it’s an opportunity to connect with nature and transform its beauty into art. As you hang your finished piece and watch the sunlight transform your space, you'll understand why this craft holds a special place in my heart.
So, gather your supplies and dive into the wonderful world of crafting. Remember, every suncatcher tells a story, and I can’t wait to see what you create!
And if anything doesn’t go as planned, don’t feel discouraged. Every error is simply another step on your crafting journey! Happy crafting!