Crafting a Monster Jar Eruption: A Fun and Explosive Experience for All Ages
Hello, fellow crafting enthusiasts! Today, I’m thrilled to share an exciting project with you—all about making a Monster Jar Eruption. This fizzy, bubbly creation is not just a fantastic visual delight; it’s also a great science experiment that can intrigue both kids and adults alike. Whether you're planning a science-themed birthday party, a spooky Halloween gathering, or simply want to add some excitement to an ordinary day, this project will undoubtedly make you the life of the party.
What is a Monster Jar Eruption?
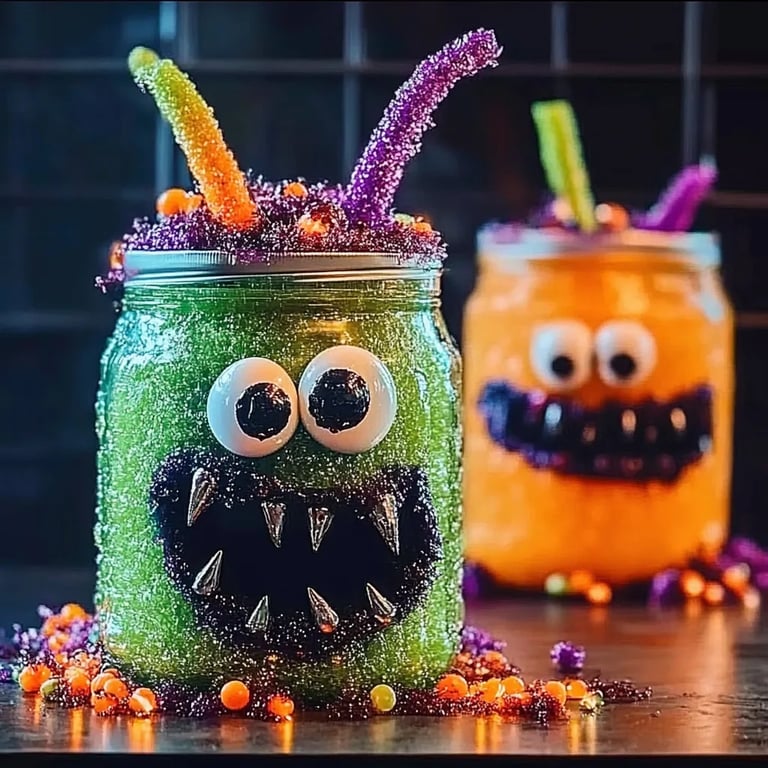
At its core, a Monster Jar Eruption is a colorful and playful way to demonstrate a chemical reaction between baking soda and vinegar, resulting in a bubbly eruption that resembles a miniature monster spouting goo. This vibrant spectacle can be customized with various colors, scents, and even glitter, allowing for endless creative possibilities. It’s no wonder this craft has become a favorite among educators and parents—it's an entertaining combination of art and science!
When and How to Use the Monster Jar Eruption
This project is perfect for:
- Educational Purposes: Great for classrooms or home schooling, showcasing chemical reactions.
- Parties and Gatherings: Captivate your guests with a unique display.
- Quiet Afternoons: An engaging activity that can keep kids occupied while also being a learning experience.
Crafting Your Monster Jar Eruption: Step-by-Step Tutorial
Now, let’s dive into the nitty-gritty of creating your very own Monster Jar Eruption. Don’t worry if you’re new to crafting; I’ll guide you through every step!
Materials Needed
Here’s what you’ll need to gather:
- A clear jar or container (it can be glass or plastic)
- Baking soda (about 1-2 tablespoons)
- Vinegar (around 1 cup)
- Dish soap (a few squirts)
- Food coloring (your choice of vibrant colors)
- Glitter (optional, but who doesn’t love a sparkle?)
- Spoon or a small funnel
- Paper towels for cleanup
- An apron or old clothes (things might get messy!)
- Safety goggles (especially if children are participating)
Step-by-Step Instructions
Step 1: Prepare Your Workspace
Begin by laying out all your materials in a well-ventilated area. If you’re doing this with kids, make sure to cover the surface with a plastic sheet or newspapers to protect it from any spills. It’s important because sometimes eruptions can get a little overzealous!
Step 2: Mix the Ingredients
- Create the base: Pour about ½ cup of vinegar into the bottom of your jar. This will be the base of your eruption.
- Add dish soap: A few squirts of dish soap will help to create more bubbles and foam, enhancing the eruption effect.
- Incorporate food coloring: Add a few drops of food coloring to give your eruption a fun, vibrant look. You can mix colors or even create a gradient for artistic flair.
Tip: The more vibrant your food coloring, the more impact your eruption will have! Remember that mixing colors may lead to some unexpected results—don’t be afraid to experiment!
Step 3: Prepare the Baking Soda
In a separate bowl, combine 1–2 tablespoons of baking soda with a little water to make a thick paste. This step is crucial, as it helps to create a more controlled eruption once it interacts with the vinegar.
What Could Go Wrong?: If the baking soda is too dry, it may not react well. If it’s too wet, it might not create an exciting eruption. Aim for a paste-like consistency.
Step 4: The Eruption!
Now for the fun part! Using a spoon or a funnel, carefully drop the baking soda paste into the jar with your vinegar mixture.
Safety Note: This is the moment where things might get wild! Stand clear as the reaction unfolds, and be ready for an eruption of bubbly goodness.
Clean-Up Tip: Keep paper towels handy for swift cleanup right after the eruption occurs.
Creative Variations
Feeling adventurous? Here are some exciting variations to try:
- Glow-in-the-Dark Eruption: Use glow-in-the-dark paint or tonic water instead of regular food coloring. The reaction will glow under black light!
- Themed Eruptions: For Halloween, add plastic eyeballs or rubber spiders to your jar for a spooky effect.
- Scented Eruptions: Mix in essential oils or extracts (like peppermint or vanilla) to give your eruption a pleasant smell.
Final Thoughts and Additional Tips
As you embark on your Monster Jar Eruption adventure, remember that crafting should be fun! Don’t stress about getting it perfect; let your creativity flow. Here are a few final tips:
- Always supervise children during this activity to ensure safety.
- Experiment with different container shapes: The shape of your jar could impact how the eruption looks. Consider wide-mouthed jars for larger eruptions!
- If you want to make a more controlled eruption, try adding the baking soda slowly, maybe in batches, to see how the reaction changes.
Conclusion
Your Monster Jar Eruption is not just a science experiment; it’s an artistic expression of creativity and exploration! I hope this guide gives you the confidence to dive into this project, whether it’s for a classroom, a fun day at home, or a vibrant party. Remember to have fun, embrace the chaos, and don’t hesitate to share your creations with friends and family.
Happy crafting!