Colored Suncatchers: An Amazing Ultimate Guide with 7 Creative Ideas
Colored suncatchers are amazing pieces of art that can transform any space. With their vibrant colors and playful designs, these creations not only beautify your windows but also add a touch of joy to your home. They reflect sunlight in brilliant displays, casting colorful shadows that dance across your rooms. Making and displaying colored suncatchers can be an enjoyable and therapeutic activity for both children and adults. By harnessing creativity, anyone can bring a little sunshine indoors.
Every time sunlight hits these colorful decorations, it's like a mini celebration of light. Whether you’ve been crafting for years or are picking up art supplies for the first time, colored suncatchers are an ultimate way to express your artistic side. Today, we'll explore why you'll love creating these beautiful decorations, provide a detailed list of materials needed, and share step-by-step instructions for making them.
Gather your family or friends for this incredible project, because colored suncatchers are more than just decor—they’re a way to connect, create, and brighten your surroundings. So, let’s dive into this vibrant world and discover the process of bringing colored suncatchers to life!
Why You’ll Love This Craft
Creating colored suncatchers offers numerous benefits that go beyond simply adding decoration to your home. Here are just a few reasons why you’ll love this craft:
- Creative Expression: Crafting suncatchers allows you to express yourself artistically. You can experiment with colors, shapes, and designs to suit your personal style.
- Fun for All Ages: This activity is perfect for everyone, from young children to adults. It's a wonderful way to spend time together and create lasting memories.
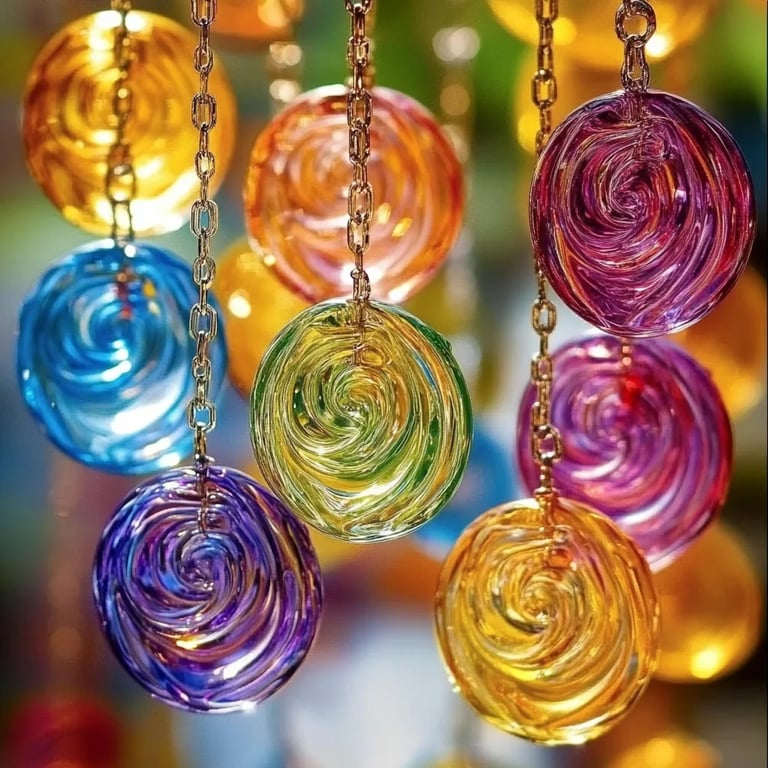
- Colorful Ambiance: When hung in windows, these suncatchers catch sunlight, creating beautiful patterns and colorful reflections within your home.
- Inexpensive Materials: Most of the materials needed are affordable and can even be found around your home, making this a budget-friendly project.
- Stress Relief: Engaging in a creative project can help reduce stress levels. Focusing on the task at hand allows you to escape from everyday worries.
- Seasonal Decor: Colored suncatchers can be designed to fit any season or holiday, making them a versatile addition to your home décor.
- Perfect Gifts: Handmade suncatchers make thoughtful gifts for friends and family. They show that you've put time and effort into creating something special for them.
With all these benefits, colored suncatchers are not just craft projects; they're a fantastic way to enhance your living environment and inspire creativity.
Preparation and Craft Time
Creating your colored suncatchers is a fun and relatively straightforward process. Here’s an overview of the time you might need to set aside for this project:
- Preparation Time: 15-30 minutes (to gather the materials and set up your workspace).
- Crafting Time: 1-2 hours (to create and decorate your suncatchers).
- Drying Time: Depending on your chosen materials, this may vary. Generally, allow at least 30 minutes to 1 hour for the suncatchers to dry fully before displaying them.
Planning your craft time efficiently will help maximize the fun without feeling rushed!
Ingredients
To create colorful suncatchers, you will need the following materials:
- Clear plastic sheets or transparency film
- Colored tissue paper or colored cellophane
- Scissors
- Glue or Mod Podge
- Black construction paper (for outlining shapes)
- A pencil or marker
- Hole punch
- Ribbon or string (for hanging)
With these ingredients on hand, you’ll be well-equipped to create stunning colored suncatchers to brighten any window.
Step-by-Step Instructions
Here are the steps to create beautiful colored suncatchers:
- Prepare Your Workspace: Lay down a protective covering on your work surface to make clean-up easier.
- Cut Plastic Sheets: Use scissors to cut the clear plastic sheets into your desired shapes. Common shapes include circles, hearts, or stars.
- Create Templates: If desired, draw shapes on black construction paper to serve as templates. You can add intricate designs for a more unique look.
- Trace Templates: Carefully place your templates on the clear plastic sheets and trace around them with a pencil or marker.
- Cut Out Shapes: Cut out the shapes from the clear plastic sheets, ensuring your edges are neat and smooth.
- Prepare Colored Pieces: Cut your colored tissue paper or cellophane into smaller pieces, ensuring a variety of colors is included.
- Arrange Colors: Lay the small colored pieces over the clear plastic cut-outs in a pleasing pattern. Feel free to mix and match colors.
- Glue Down Pieces: Using glue or Mod Podge, carefully adhere the colored pieces onto the clear plastic shapes. Make sure to cover the entire area for a vibrant suncatcher.
- Create Edges (Optional): If you’re using black construction paper templates, you can use them to create a border around your suncatcher. Glue the black paper edges onto the transparent piece, giving it a polished look.
- Punch a Hole: Once everything is secure and dry, use a hole punch to make a hole at the top of each suncatcher for hanging.
- Add Ribbon/String: Cut a length of ribbon or string and thread it through the hole. Tie a knot to secure it.
- Drying: Allow your suncatchers to dry completely before hanging them in a window.
- Display: Once dry, hang your colored suncatchers in a window that receives plenty of sunlight for the best effect.
Following these straightforward steps will lead you to stunning colored suncatchers that will brighten any room!
How to Serve
Displaying your colored suncatchers can amplify their impact, so consider these tips to enhance their visual effect:
- Ideal Location: Hang your suncatchers in windows that receive direct sunlight for the best colorful effects. South- or west-facing windows are excellent choices.
- Grouping: Create a collection by hanging multiple suncatchers together at varying heights and positions to create a dynamic display.
- Seasonal Themes: Change your suncatchers with the seasons or holidays to keep your decor fresh and exciting.
- Adjustable Heights: Use different lengths of ribbon or string for each suncatcher to create visual interest and depth.
- Showcase Outdoors: If possible, hang some in outdoor areas such as porches or gardens where sunlight can enhance their beauty.
By following these suggestions, you can maximize the enchanting effects of your colored suncatchers and bring joy to your home throughout the year.
Additional Tips
- Experiment with Shapes: Don't limit yourself to traditional shapes. Try creating abstract designs or animals for a unique flair.
- Use Different Textures: Incorporate various materials like glitter or beads to give your suncatchers additional glamour and texture.
- Personalize for Occasions: Make themed suncatchers for holidays, such as hearts for Valentine’s Day or snowflakes for winter. It’s a fun way to celebrate the seasons!
Recipe Variation
Consider customizing your colored suncatchers with these variations:
- Seasonal Colors: Use specific color palettes to match seasonal themes like pastels for spring, bright colors for summer, and warm tones for fall.
- Mixed Materials: Combine stained glass pieces or recycled glass for a more sophisticated or eclectic look.
- Layered Designs: Create depth by layering various colored papers or using multiple clear sheets.
Freezing and Storage
- Durability: These creations can last for months when handled with care. If they become dusty, a light wipe with a damp cloth will refresh their appearance.
Special Equipment
While this project requires minimal equipment, having the right tools can make the process easier:
- Craft Scissors: A good pair of scissors will make cutting shapes and colored papers straightforward.
- Craft Knife: For more intricate designs, a craft knife will give you precision.
- Plastic Wrap: Use to cover your workspace and protect it from glue spills.
Frequently Asked Questions
Can I use other types of paper for suncatchers?
Yes! Although tissue paper and cellophane are popular, any colorful paper can be used as long as it's semi-transparent.
How long do colored suncatchers last?
With proper care and storage, colored suncatchers can last for years. Avoid direct exposure to harsh weather conditions.
Can I make suncatchers with kids?
Absolutely! Colored suncatchers are perfect for kids, providing an excellent opportunity to teach them about colors, shapes, and craftsmanship.
What if I don't have plastic sheets?
If plastic sheets aren't available, you can substitute them with plastic containers or even plastic grocery bags, cut into flat pieces.
Can I use paints instead of colored paper?
Yes! If you prefer to paint your designs, use transparent paint or stained glass paint to achieve a similar colorful effect.
Conclusion
Creating colored suncatchers is an enjoyable, therapeutic, and rewarding craft that brings vibrant colors and joy to your home. It’s not only a great way to express your creativity but also a fantastic opportunity to bond with friends and family. By utilizing different materials and techniques, you can make these stunning decorations uniquely yours.
So, gather your materials, get inspired, and start crafting your personalized colored suncatchers today! Each piece created tells a story and adds a cheerful ambiance to any space, making your home feel brighter and warmer.