Celebrate St. Patrick's Day with Fun: Crafting Your Own Green Slime
St. Patrick's Day is a delightful occasion filled with joy, laughter, and a splash of green. As an experienced crafter, I can say that one of the most enjoyable and popular ways to celebrate this festive day is by making your very own St. Patrick's Day Green Slime. This gooey, stretchy concoction not only evokes memories of childhood play but also serves as a playful decoration or an engaging activity for kids and adults alike. Whether you're entertaining guests at a St. Patrick's Day gathering or simply looking for a fun craft to do with your children, this slime recipe is easy to follow and endlessly fun!
In this comprehensive guide, I’ll walk you through making green slime from scratch, sharing my process, tips, and even a couple of personal stories to inspire your crafting journey. Let’s dive into the world of slime-making!
What Is Green Slime and Why Is It So Popular?
Green slime, at its core, is a synthetic polymer created by combining a few simple ingredients. When these elements interact, they create a gooey substance that's fun to stretch, squish, and manipulate. It’s popular not only because of its squishy texture, but also because it allows for creative expression—think about adding glitter or customizing colors!
In addition to the pure enjoyment of crafting slime, it can be used in a variety of settings:
- Kid-friendly activities: Perfect for birthday parties or holiday celebrations!
- Educational purposes: Teaching kids about chemical reactions and states of matter.
- Decorations: Use it as part of your St. Patrick's Day decor by placing it in cute glass jars or themed containers.
What You Will Need
Before we jump into the tutorial, you’ll need to gather a few materials. Don’t worry—most of these items are easy to find!
Materials
- *White school glue* (8 oz) – The base for our slime.
- *Baking soda* (1 teaspoon) – Helps give the slime some stability.
- *Contact lens solution* (3 tablespoons) – This activates the slime and gives it the right texture.
- *Green food coloring* – To bring in that festive spirit!
- *Optional*: Glitter or confetti for an extra sparkle!
Tools
- Mixing bowl
- Spoon or spatula
- Airtight container for storage
Step-by-Step Tutorial
Now that we've got everything we need, let’s get started!
Step 1: Prepare the Base
In a mixing bowl, pour in the entire 8 ounces of white school glue. This forms the foundation of your slime. Why this matters: Using enough glue ensures your slime has the right consistency. Too little, and your slime will be runny.
Step 2: Add Colors and Sparkles
Next, add a few drops of green food coloring to your glue. Mix well until the color is fully blended. You can adjust the color to your preference—go for a bright neon green or a deeper emerald! If you want to add glitter for that festive flair, now's the time to toss it in. Tip: Less is more with the food coloring; add more gradually until you reach the desired shade.
Step 3: Incorporate Baking Soda
This important step is where we add one teaspoon of baking soda to the slime mixture. Stir until it's well dissolved. Why this matters: The baking soda helps thicken the glue, bringing us closer to our slime goal. If you skip this, your slime may not have the right consistency.
Step 4: Activate the Slime
Now for the magic: slowly add 3 tablespoons of contact lens solution to your mixture. Begin stirring immediately. You will notice the slime starting to form! If your slime is too sticky, you can add a little extra contact lens solution, but be careful; too much will make the slime too rubbery. Tip: It’s better to add a little at a time than to overdo it!
Step 5: Knead It!
Once your slime begins to clump together, it's time to get your hands dirty! Take the slime out of the bowl and begin kneading it. As you knead, it will become less sticky and more stretchy. This part is incredibly satisfying!
Troubleshooting Common Issues
- Too Sticky: If your slime remains sticky, it might need more contact lens solution. A teaspoon at a time, incorporate it until satisfied.
- Too Runny: Add a bit more baking soda and knead again.
- Too Hard: If your slime feels too rubbery, it may have too much contact lens solution. Make a new batch with less to compare.
Clean Up
After you’re done playing with your slime, remember to store it in an airtight container to keep it fresh for days! Slime can be messy, so be sure to work on a surface that’s easy to clean.
Personal Anecdote
I remember the first time I made slime for my niece’s St. Patrick’s Day party. The kids were ecstatic when they saw the bright green goo! We spent hours creating different textures and even made a little competition to see who could stretch theirs the furthest.
Creative Variations
Feel free to customize your slime further with these fun modifications:
- Add Scent: A few drops of essential oils can make your slime smell delightful—think peppermint for a wintery feel or lime for a zesty touch.
- Use Different Colors: Create a rainbow of slime by using other colors alongside green—mix and match!
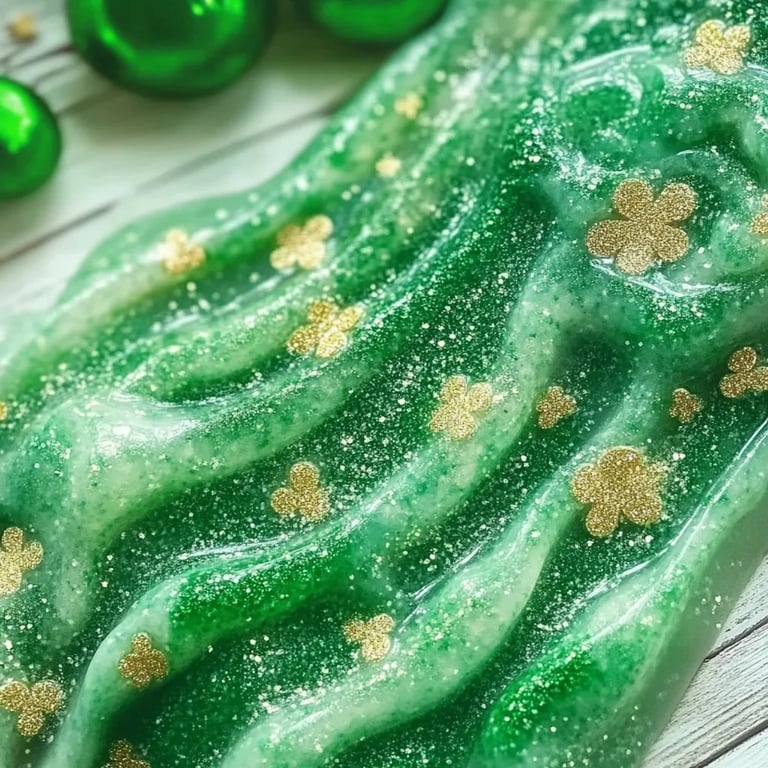
- Themed add-ins: Consider adding gold glitter or small gold-themed trinkets to represent the pot of gold at the end of the rainbow!
Safety Warnings
While the ingredients used in this slime are generally safe, it’s important to keep in mind:
- Adult supervision is recommended for young children.
- Keep slime out of reach of pets to prevent ingestion.
- If anyone has a known allergy to any of the ingredients (especially glue), please adjust accordingly or seek non-toxic alternatives.
Final Thoughts
Crafting your own St. Patrick's Day Green Slime is not just a fun project; it’s an opportunity to bond with family and friends, unleash creativity, and bring a touch of festive magic to any celebration. Whether you’re making it for yourself or sharing with kids, the joy it brings is immeasurable. So grab your materials and let’s create some green slime masterpieces this St. Patrick's Day! Happy crafting!