Bubble Painting Activity: A Colorful Craft Adventure for All Ages
Hello there, fellow crafters! Today, I’m thrilled to guide you through the delightful world of bubble painting. As an experienced crafter, I can tell you that this activity is not just a feast for the eyes; it’s an incredible way to blend creativity with a bit of scientific fun!
What is Bubble Painting?
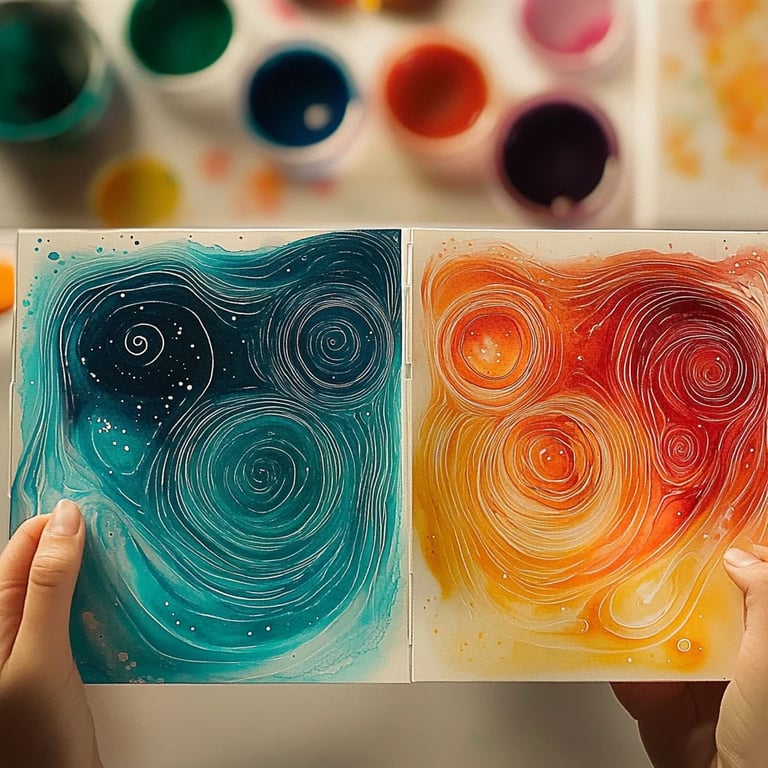
Bubble painting is exactly what it sounds like—painting with bubbles! By mixing paint with bubble solution, we create colorful bubbles that, when popped, leave behind vibrant, swirling designs on paper. This activity is popular among all age groups; it's a hit at birthday parties, summer camps, and family gatherings. Children love the hands-on aspect, while adults appreciate the whimsical art they can create. Plus, it’s a fantastic way to encourage imaginative play and fine motor skill development!
When and How Can You Use This Activity?
You can use bubble painting for so many occasions: art projects for school, a creative afternoon at home, or even as a unique party activity. The beauty of bubble painting lies in its versatility—it’s relaxing, enjoyable, and can easily be adapted based on your needs or the age of your participants.
The Materials You’ll Need
Let’s dive into the supplies! Don’t worry; these materials are easy to find and typically inexpensive:
- Bubble Solution: You can buy pre-made bubble solution or make your own using the following recipe:
- 1 cup of water
- 2 tablespoons of dish soap
- 2 tablespoons of corn syrup (to make the bubbles last longer)
- Liquid Watercolors or Washable Paint: Use vibrant colors! I prefer liquid watercolors for their rich pigments, but any washable paint works.
- Straws: Standard drinking straws work perfectly. Avoid the fancy ones; we need those good old-fashioned straight straws.
- Paper: Watercolor paper or heavyweight paper works best to avoid warping.
- Container: Something shallow, like a pie dish or a plastic tray, for mixing the bubble solution and paint.
A Step-by-Step Guide to Bubble Painting
Now that we have our materials, let's get this colorful adventure started!
Step 1: Prepare Your Work Area
First, I recommend covering your workspace with newspapers or a plastic tablecloth. Bubble painting can get a bit messy, and trust me, it’s much easier to clean up afterward!
Why this matters: This step ensures you won’t be fretting over your clean table while you’re trying to enjoy the creative process.
Step 2: Make Your Bubble Solution
In your container, mix one cup of water with two tablespoons of dish soap and two tablespoons of corn syrup. Stir it gently to combine—avoid bubbles at this stage, as we don’t want to start bubbling just yet!
Common Pitfall: If you stir too vigorously, you might create a ton of bubbles, which will yield less paint for our craft.
Step 3: Add Color
Now comes the fun part! Add a few drops of your chosen liquid watercolor or washable paint into the bubble solution. I often start with two or three drops and mix. Remember, you can always add more to achieve your desired vibrancy.
Tip: Use different containers for different colors to create a multi-colored painting experience!
Step 4: Blow Bubbles
Take a straw and dip the end into your colorful bubble solution. Then, gently blow into the straw. You should see bubbles forming! The goal is to create big, colorful bubbles without making a mess inside the container.
What Could Go Wrong: If the bubbles pop before they reach your paper, try blowing more gently or adjusting the angle of the straw.
Step 5: Paint with Bubbles!
Once you’ve got a nice pile of bubbles, gently place your paper on top of them. As the bubbles pop, they will leave colorful imprints on the paper!
Alternative Method: If you want to try something different, place the paper in the container and blow bubbles directly onto it.
Step 6: Let Your Art Dry
After you've made your masterpieces, let the paper dry flat. Depending on the thickness of your paint, this might take a few hours. If using heavyweight paper, it may take longer to dry completely.
Safety Warnings
- Supervision: Always supervise children closely while they’re using straws. If they accidentally ingest any solution, contact a medical professional immediately.
- Painting Space: If working indoors, protect your floors, and avoid painting near electronic devices!
Creative Variations
- Color Mixing: Encourage kids to experiment with color mixing. Try blowing bubbles with different colors and see how they combine!
- Use of Stencils: Place stencils over your paper before applying bubbles for unique shapes and designs.
- Texture Play: You can also experiment with different papers: try canvas, cardboard, or even fabric!
Final Thoughts and Personal Anecdotes
I still remember the first time I tried bubble painting with my niece. We spent an entire afternoon experimenting with different colors and methods, and she had the most joyous expression as she watched the bubbles pop and create art! We even ended up gluing some of her favorite pieces onto greeting cards to send to family.
Bubble painting is an expressive, immersive activity that can connect generations. Whether you're crafting with little ones, friends, or taking time for yourself, remember that the joy is in the journey—don’t stress about perfection!
Now that you have the know-how, grab those supplies, unleash your creativity, and enjoy your bubble painting adventure. I can’t wait to hear about your experiences, so feel free to share your colorful creations! Happy crafting!