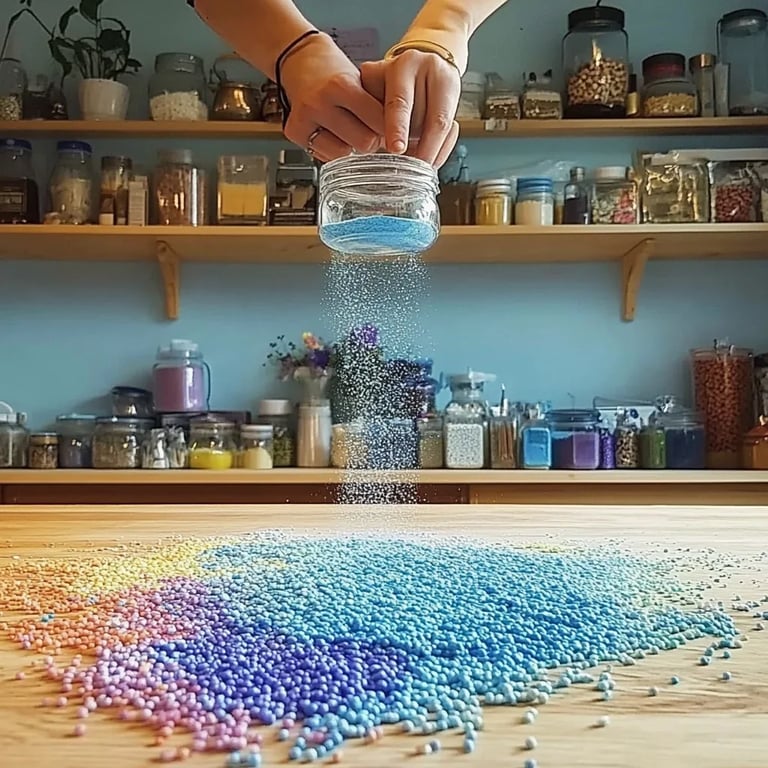
A Splash of Fun: How to Make DIY Fizzy Chalk Paint
Hello, fellow crafters! Today, I'm bubbling with excitement to share with you one of my favorite DIY projects: making fizzy chalk paint. As an experienced crafter and someone who loves to bring color into my home and the outdoors, I find this fizzy concoction to be the perfect blend of creativity and playfulness. It’s popular among parents, teachers, and anyone who wants to add a splash of color to mundane surfaces. Think about all that sidewalk art your kids could create, or how you could turn a dull fence into a vibrant canvas!
So, are you ready to dive into the colorful, fizzy world of chalk paint? Let’s get started!
What is Fizzy Chalk Paint?
Fizzy chalk paint is a whimsical twist on traditional chalk paint, incorporating a fun fizzy reaction that children and adults alike find delightful. It’s made from simple ingredients that you might already have in your kitchen. The best part? Once you're done, you can wash it away easily, making it perfect for outdoor activities or indoor play that won’t leave lasting marks.
Why Is Fizzy Chalk Paint So Popular?
The popularity of fizzy chalk paint has surged for several compelling reasons:
- Creativity and Fun: It’s a fun way to engage kids in arts and crafts. The fizzy reaction adds an exciting sensory element that keeps little ones fascinated.
- Easy Clean-Up: Unlike permanent paint, this easily washes away with water, making it a no-fuss option for outdoor play.
- Educational Value: It serves as a fantastic hands-on lesson in chemical reactions for curious minds.
When Can You Use It?
Fizzy chalk paint is perfect for:
- Outdoor Play: On sidewalks, driveways, or any other safe outdoor surface.
- Art Projects: Perfect for personal artwork or as part of a group crafting day.
- Learning Activities: To teach kids about colors, mixing, and reactions.
Now that we've whetted your appetite for this colorful adventure, let’s roll up our sleeves and get crafting!
How to Make DIY Fizzy Chalk Paint
This project requires just a handful of simple, accessible materials. Plus, I’ll provide you with step-by-step instructions and tips to ensure your painting session is a success.
Materials You’ll Need
- 1 cup baking soda
- 1 cup water
- 1 cup cornstarch
- 1 cup white vinegar
- Food coloring (liquid or gel)
- Optional: small plastic cups or muffin tins for mixing colors
- A mixing bowl
- Whisk or spoon for stirring
- Paintbrushes or squirt bottles (for application)
- Apron or old clothes for protection
Step-by-Step Tutorial
Step 1: Measure Your Dry Ingredients
Start by measuring 1 cup of baking soda and 1 cup of cornstarch. Pour these dry ingredients into a mixing bowl. The baking soda will provide the fizz, while the cornstarch gives the mixture a lovely, paint-like texture.
*Tip*: Make sure to level off each cup for accurate measurements; an incorrect amount could affect the reaction.
Step 2: Add Water
Next, pour 1 cup of water into the dry ingredient mixture. Stir it well with a whisk or spoon until it’s nicely combined and has a smooth consistency. This step is crucial because it activates the chalk paint's texture.
*What Could Go Wrong?*: If the mixture is too runny, add a little more cornstarch. If it’s too thick, add a tiny splash of water.
Step 3: Prepare for the Fizz
Now, here comes the fun part! In separate small cups (or a muffin tin), pour about 1/4 cup of white vinegar into each cup. This is where you can decide to add different colors using food coloring. A few drops will create vibrant hues!
*Tip*: Experiment with blending colors—blue and yellow make green!
Step 4: Create the Fizzy Chalk Paint
Once your vinegar is ready, slowly add the baking soda mixture into each cup of vinegar. You’ll see and hear the fizzy reaction immediately—it’s simply magical! This step is not only entertaining but essential for making the fizz happen, adding an element of excitement to your crafting.
Step 5: Mix and Paint!
Stir each cup until the colors are well-blended (careful not to fizz too vigorously). Now it’s painting time! Use paintbrushes or squirt bottles to apply the fizzy chalk paint to your chosen surfaces. Watch as it spreads and fizzes, creating beautiful patterns.
*Safety Warning*: As with any paint project, it’s best to protect your work surface and wear old clothes. Though it washes away easily, food coloring can sometimes stain fabrics.
Troubleshooting and Tips
- If Your Paint Doesn’t Fizz: Double-check your ratios. The right balance of vinegar and baking soda is essential for fizzing.
- For Bright Colors: Use gel food coloring for more vivid hues.
- Storing Leftovers: Leftover paint can typically be stored in an airtight container in the fridge for a few days, but I find it’s best enjoyed fresh.
Creative Variations
Feeling adventurous? Here are some variations to consider:
- Fizzy Chalk Paint Popsicles: Freeze your fizzy chalk paint in ice cube trays for a fun sensory activity on hot days.
- Bubble Paint: Add dish soap to the vinegar before mixing in the baking soda for a bubbly twist.
Personal Anecdotes
I distinctly remember the first time my kids and I made fizzy chalk paint together. They were skeptical at first, but once I introduced the fizzing reaction, their eyes lit up with wonder. Soon enough, our driveway transformed into a colorful wonderland, and squeals of delight filled the air. It became a cherished memory—proof that crafting can be a wonderful bonding experience.
Final Thoughts
Making DIY fizzy chalk paint is not just about the final product; it's all about the fun, learning, and creativity involved in the process. I hope this guide inspires you to embark on your own fizzy adventure. Don’t hesitate to get your hands messy and dive into the colorful world of art! And remember, the most important thing is to enjoy the creative journey.
Happy crafting!